SainSmart PrintyGo 3D Printer For Kids
 Updated

Introducing PrintyGo 3D Printer for Kids
Unleash your child’s creativity with a 3D printer designed for fun, safety, and learning. The SainSmart PrintyGo Kids 3D Printer combines blazing-fast performance, effortless operation, and built-in STEM education resources — making it the ultimate first step into the world of 3D printing. Whether it’s school projects, creative hobbies, or weekend experiments, this smart printer turns imagination into reality, safely and easily.
Download Apps
To get the most out of your 3D printing experience, we recommend downloading the app. The APP is designed to make your creative journey seamless and enjoyable.
Download the Kidoodle APP for free:
Printygo Android Package Kit: Kidoodle (Click to download)
Printygo iOS App Store Package: Kidoodle (Click to download)
Click to read the User Guide
- Easy Setup: Quickly connect your printer and start creating with simple setup guidance.
- Model Library: Access a variety of pre-designed models to choose from for your next project.
- Remote Control: Manage your prints from anywhere in your home with remote operation capabilities.
- Guided Tutorials: Follow step-by-step instructions if you're new to 3D printing.
- Personal Dashboard: Keep track of your prints, manage your designs, and customize your settings.
Slicer Download & User Guide
Thank you for choosing PrintyGo! In order to fully explore 3D printing, we recommend that you download our official slicing software PrintyGo Slicer. Please click the link below to download PrintyGo Slicer for free!
Slicer English download (Click to download)
Model Slicing
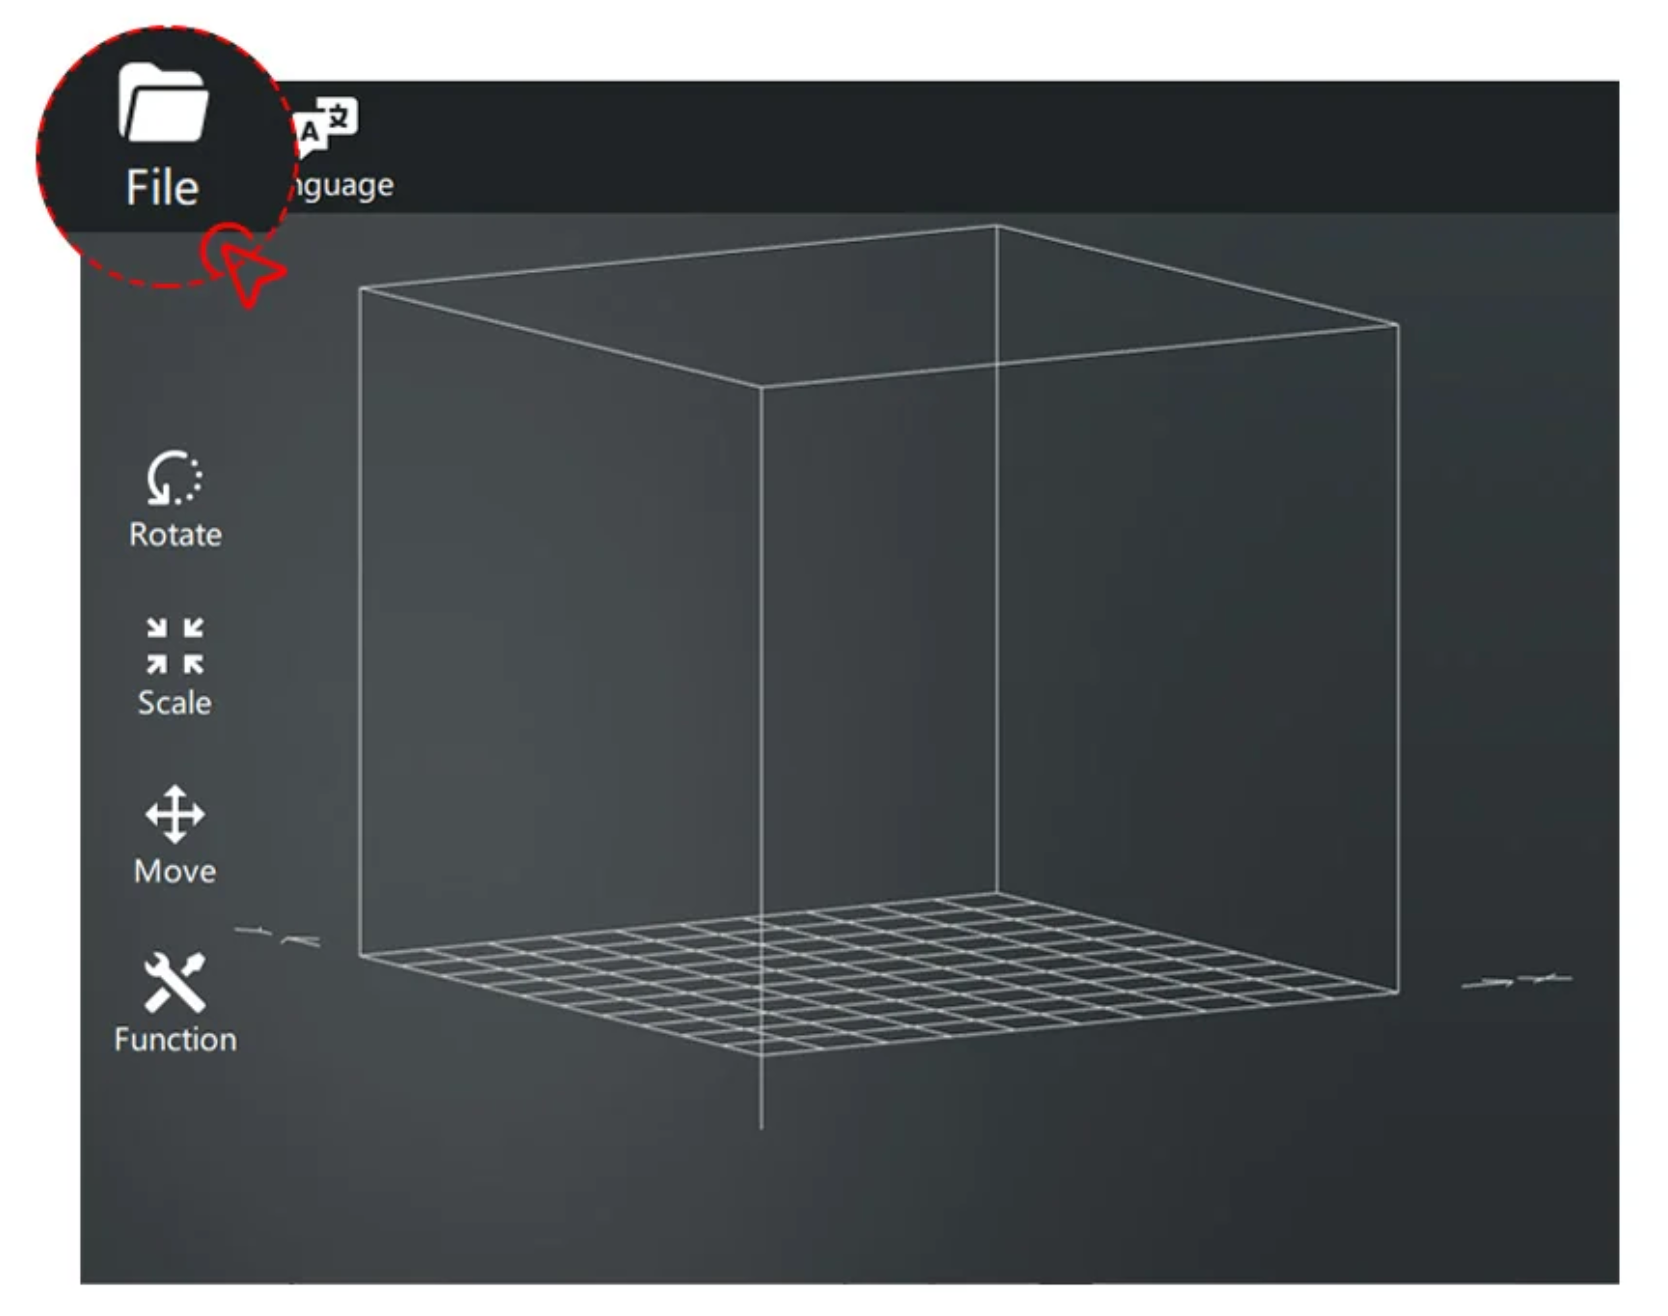
Open Slicer and load the printing file.
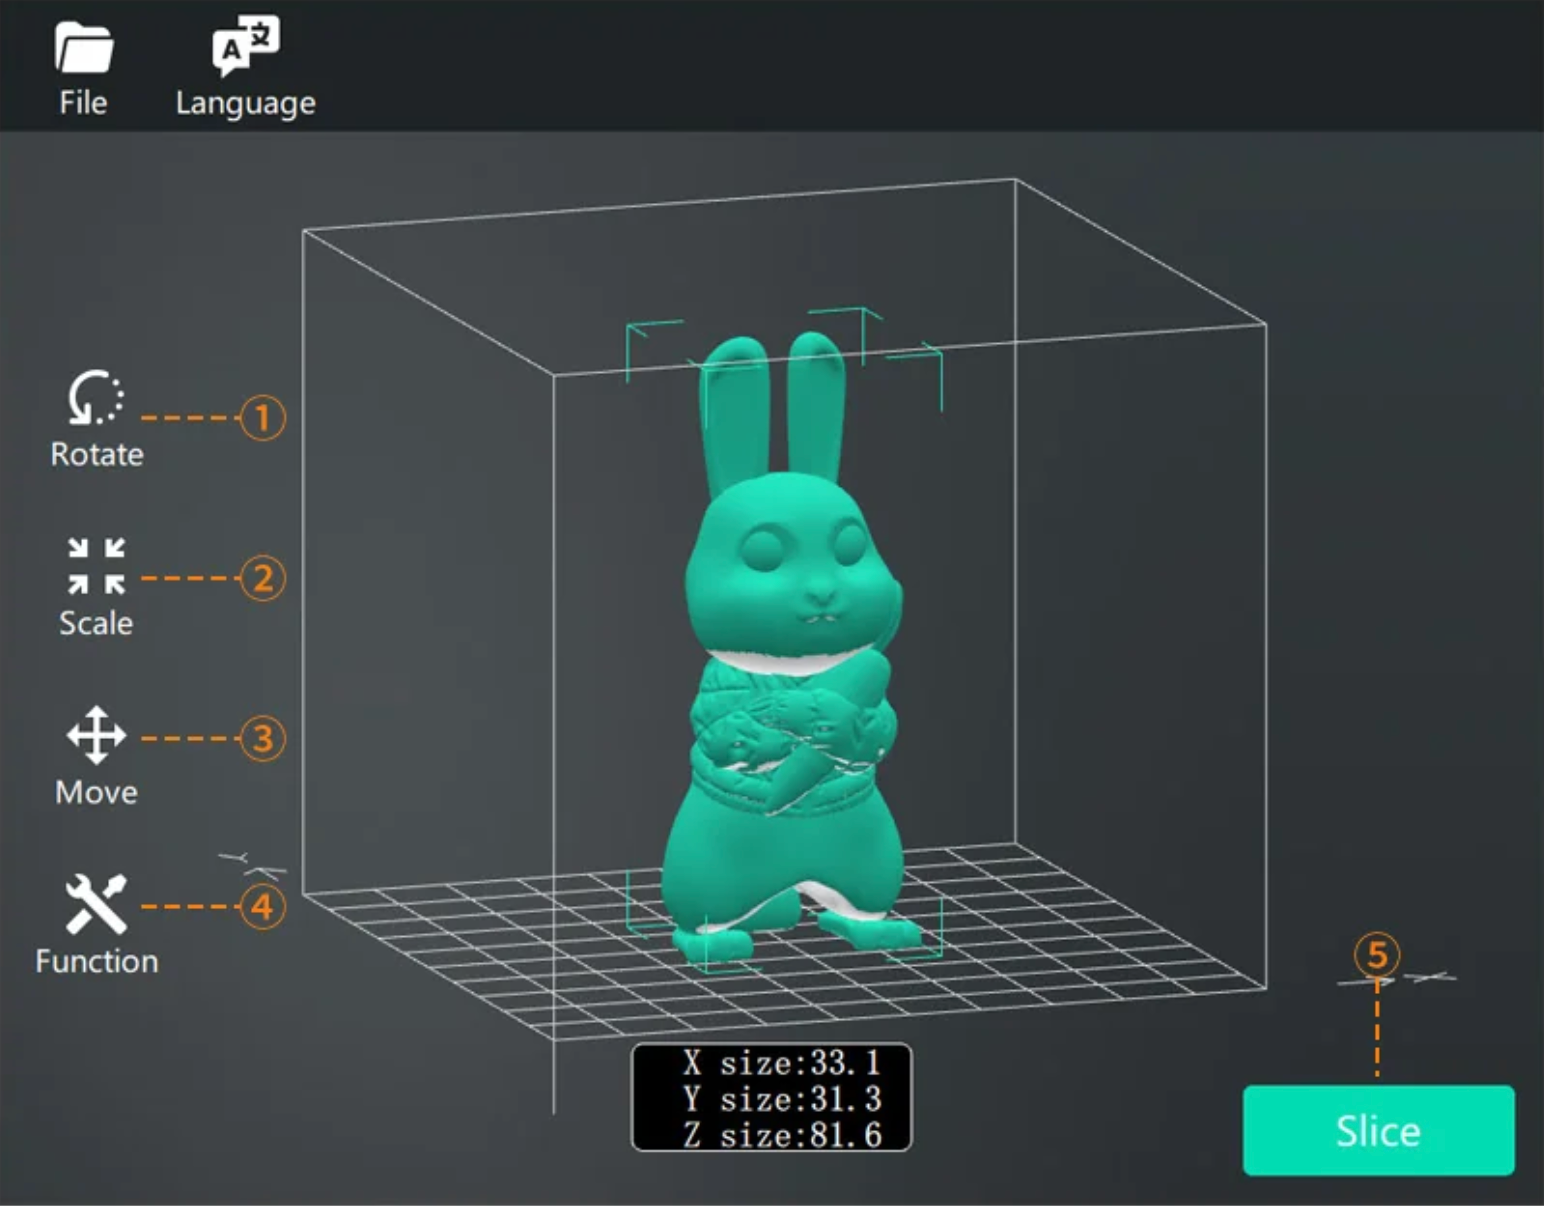
Complete the settings and parameters.
- ① Rotate: Rotate the model around the X/Y/Z axis.
- ② Scale: Adjust the size scale of the model.
- ③ Move: Move the model to adjust the printing position and printing space.
- ④ Function: Set printing temperature, layer height, supports, and spiral mode to enhance print quality.
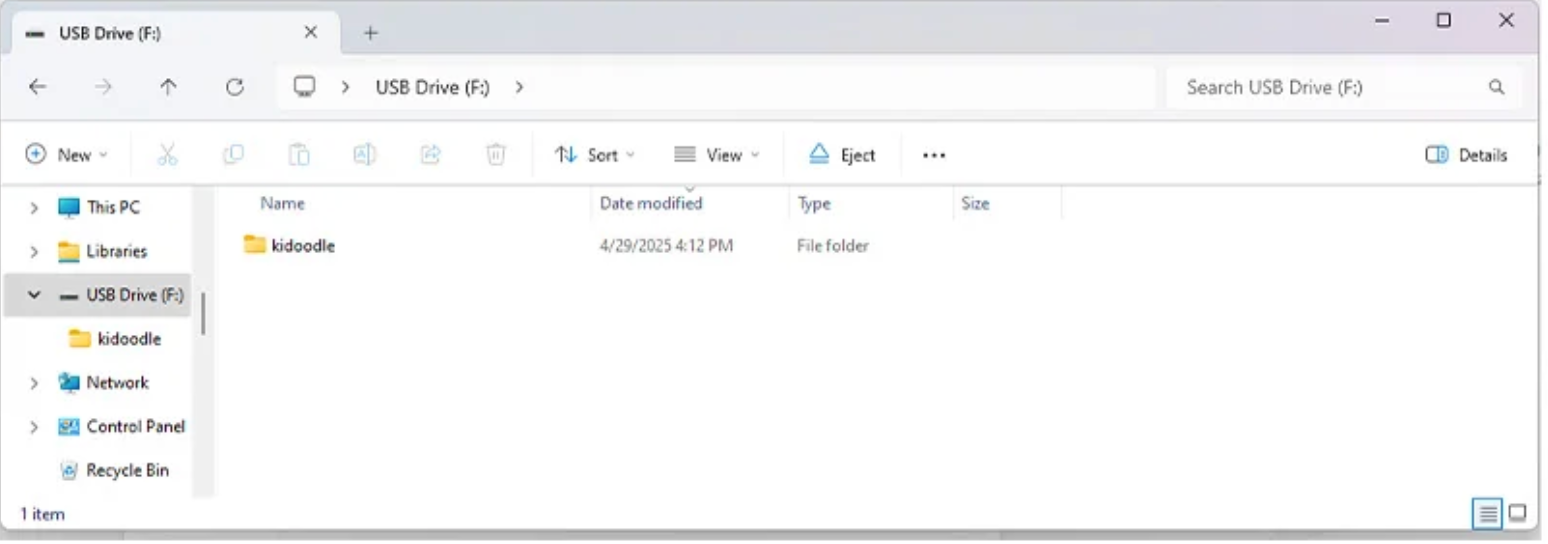
Save the file to the USB drive:
You need to create a folder named "kidoodle" in the root directory of the USB drive and place the generated ".kidoodle" files in this folder for the printer to recognize.
Printing with Cura
Download Cura Slicer Configuration Files And Instructions (English Version): Click here
G-code executed before the printer starts printing:
G28 ; home all axis
G1 Z0.28 F240
G92 E0 ; Reset Extruder
G1 Z2.0 F3000 ; Move Z Axis up
G1 X2 Y2 Z0.28 F5000.0 ; Move to start position
G1 X2 Y98 Z0.28 F1500.0 E15 ; Draw the first line
G1 X98 Y98 Z0.28 F1500.0 E20 ; Draw the second line
G92 E0 ; Reset Extruder
G1 Z2.0 F3000 ; Move Z Axis up
G-code executed after the printer finishes printing:
G91 ;Relative positioning
G1 E-2 F2700 ;Retract a bit
G1 E-2 Z0.2 F2400 ;Retract and raise Z
G1 X5 Y5 F3000 ;Wipe out
G1 Z10 ;Raise Z more
G90 ;Absolute positioning
G1 X0 Y90;Present print
M106 S0 ;Turn-off fan
M104 S0 ;Turn-off hotend
M140 S0 ;Turn-off bed
M84 X Y E ;Disable all steppers but Z
Trouble Shooting
Z-axis Compensation