How to Install & Use a DeWalt 611 Router with your PROVerXL 4030 CNC

What you will need:
- SainSmart Genmitsu 4030 PROVer XL CNC:
- Including the Allen Wrenches & 611 Spindle Mount that came with your CNC.
- DeWalt 611 Router
Step 1: Disassemble your 611 Router
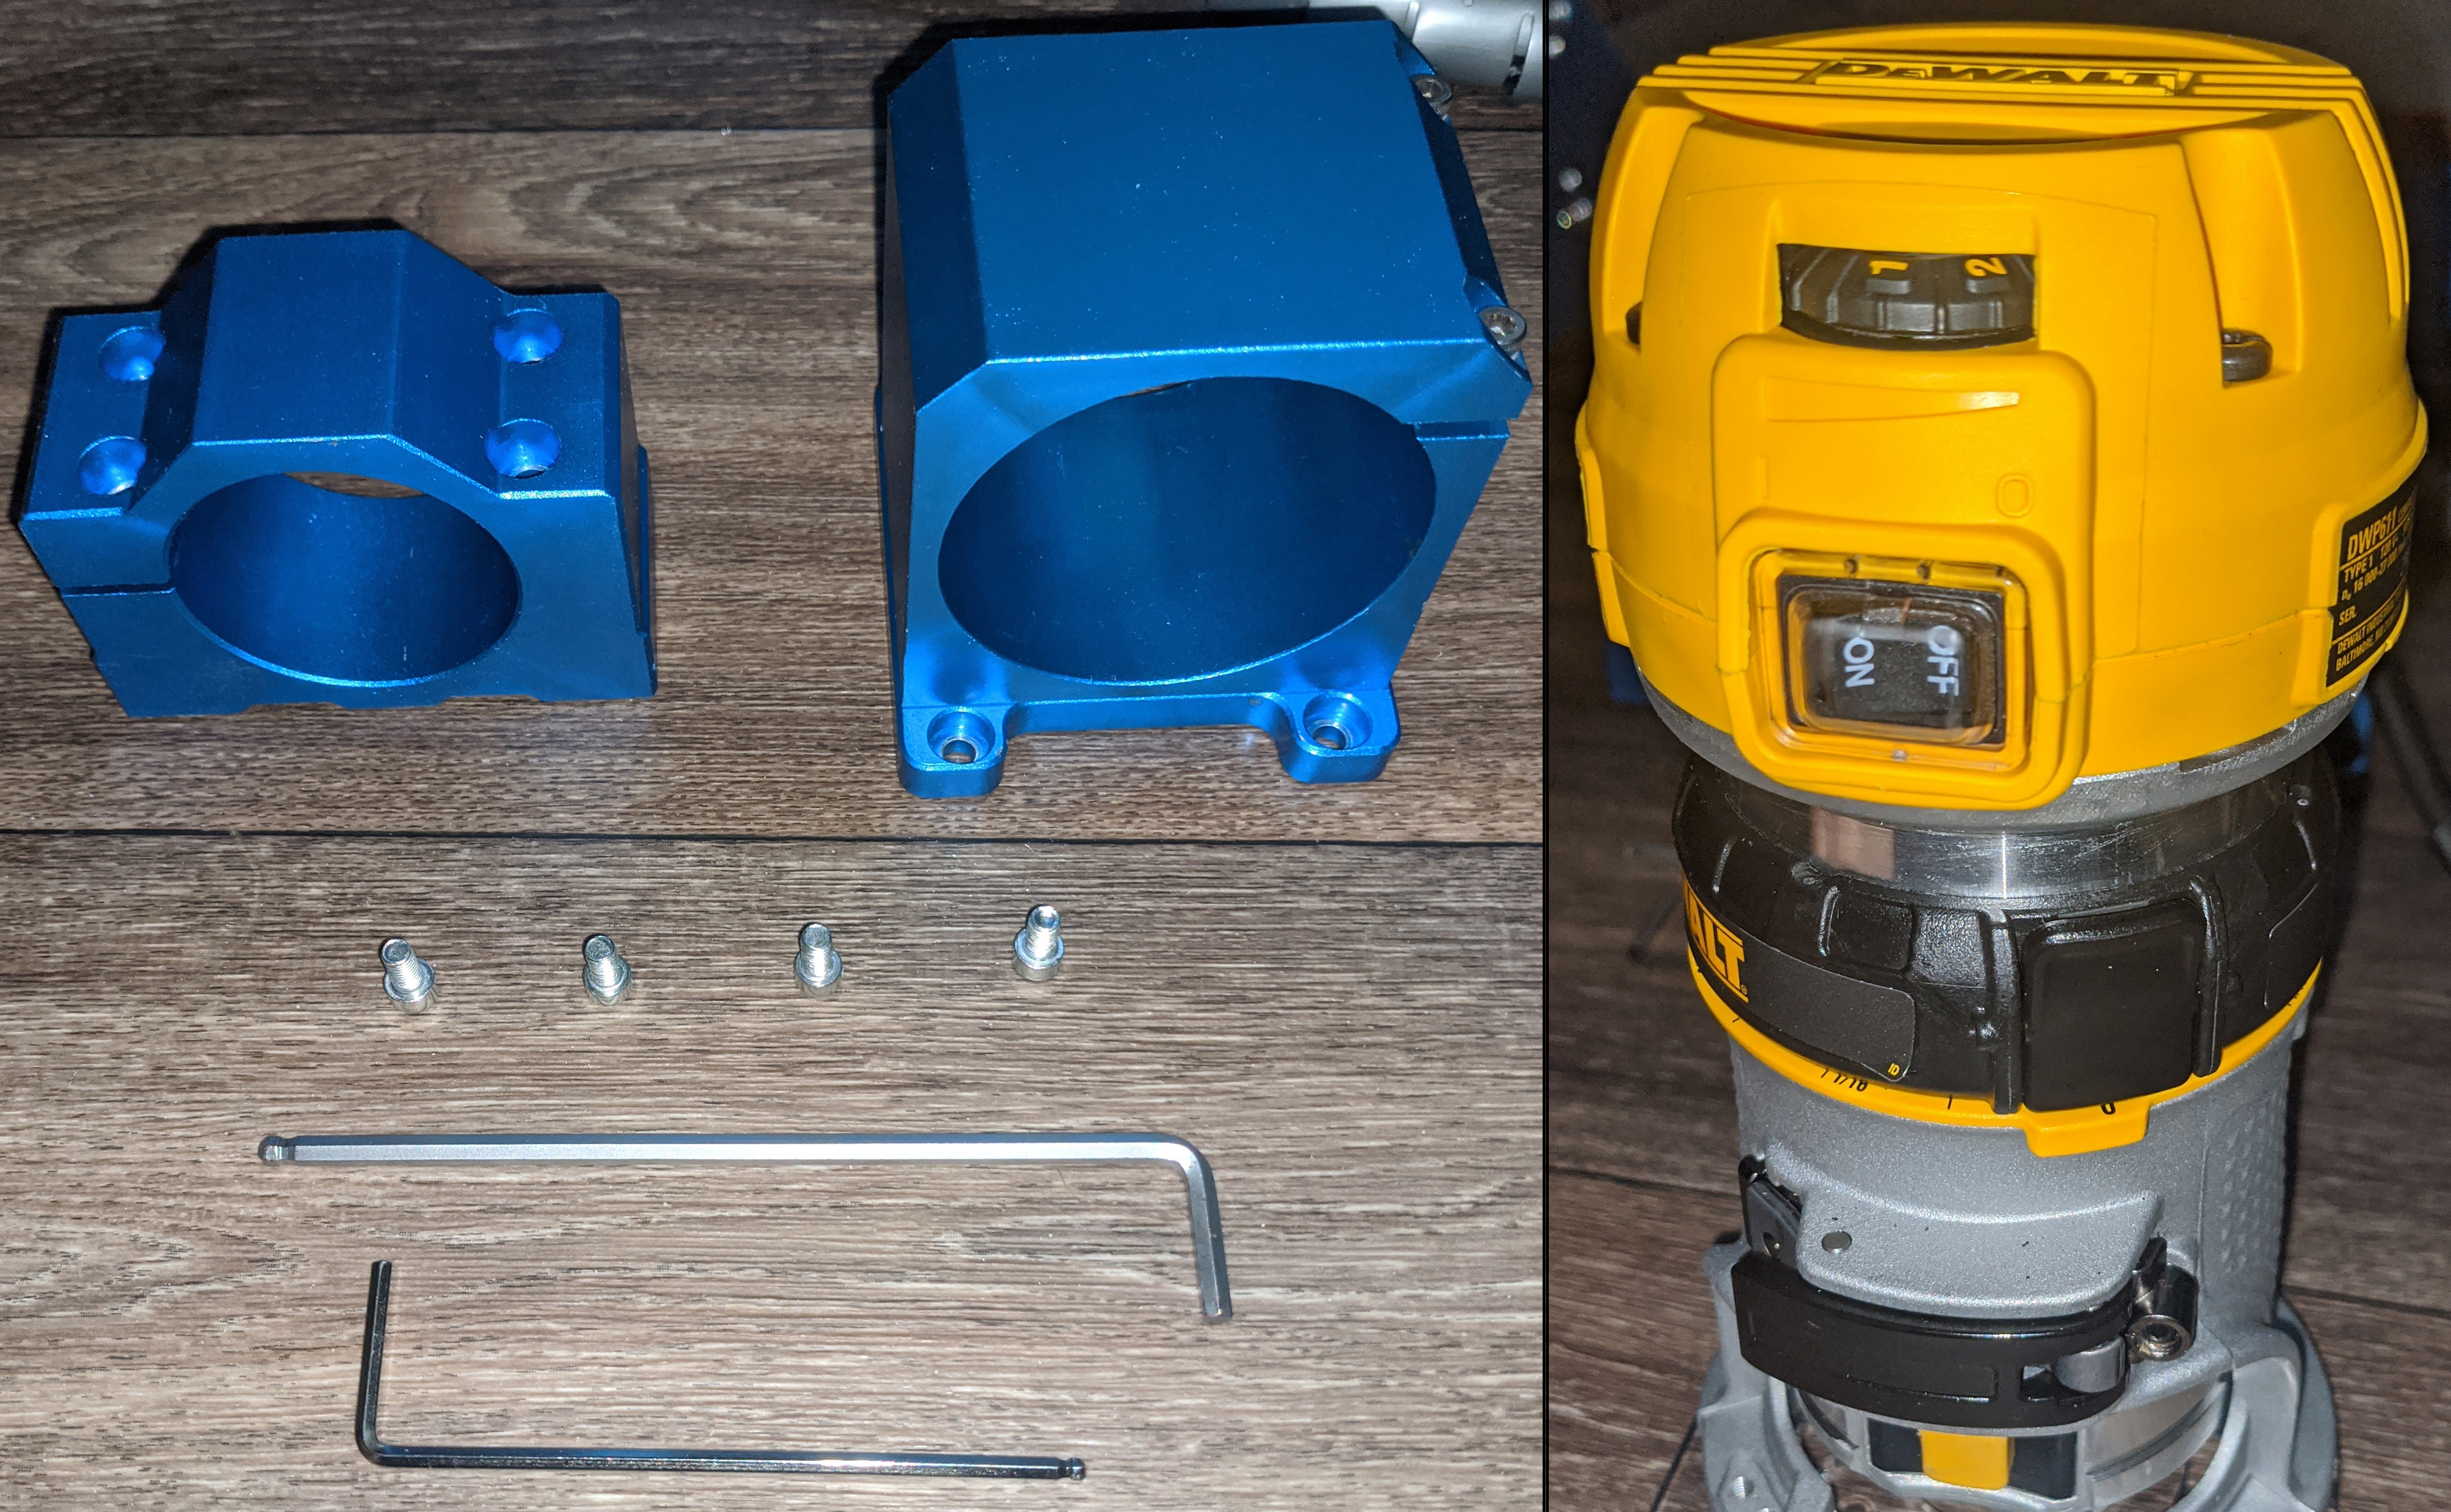
The 611 router comes configured for use as a palm router and you will need to remove these parts to use it as a spindle. Keep the accessories they will be handy if you ever decide to swap it out for a different spindle.
By the time you are finished, you should have it separated into the three components shown above.
Step 2: Remove the Pre-Installed Spindle Mount
Using your Allen wrench, remove the four bolts fastening the current spindle mount to your CNC while placing the bolts somewhere you'll not lose them, since these will be needed to install the 611 mount. Once the existing mount has been removed, it should look like this:
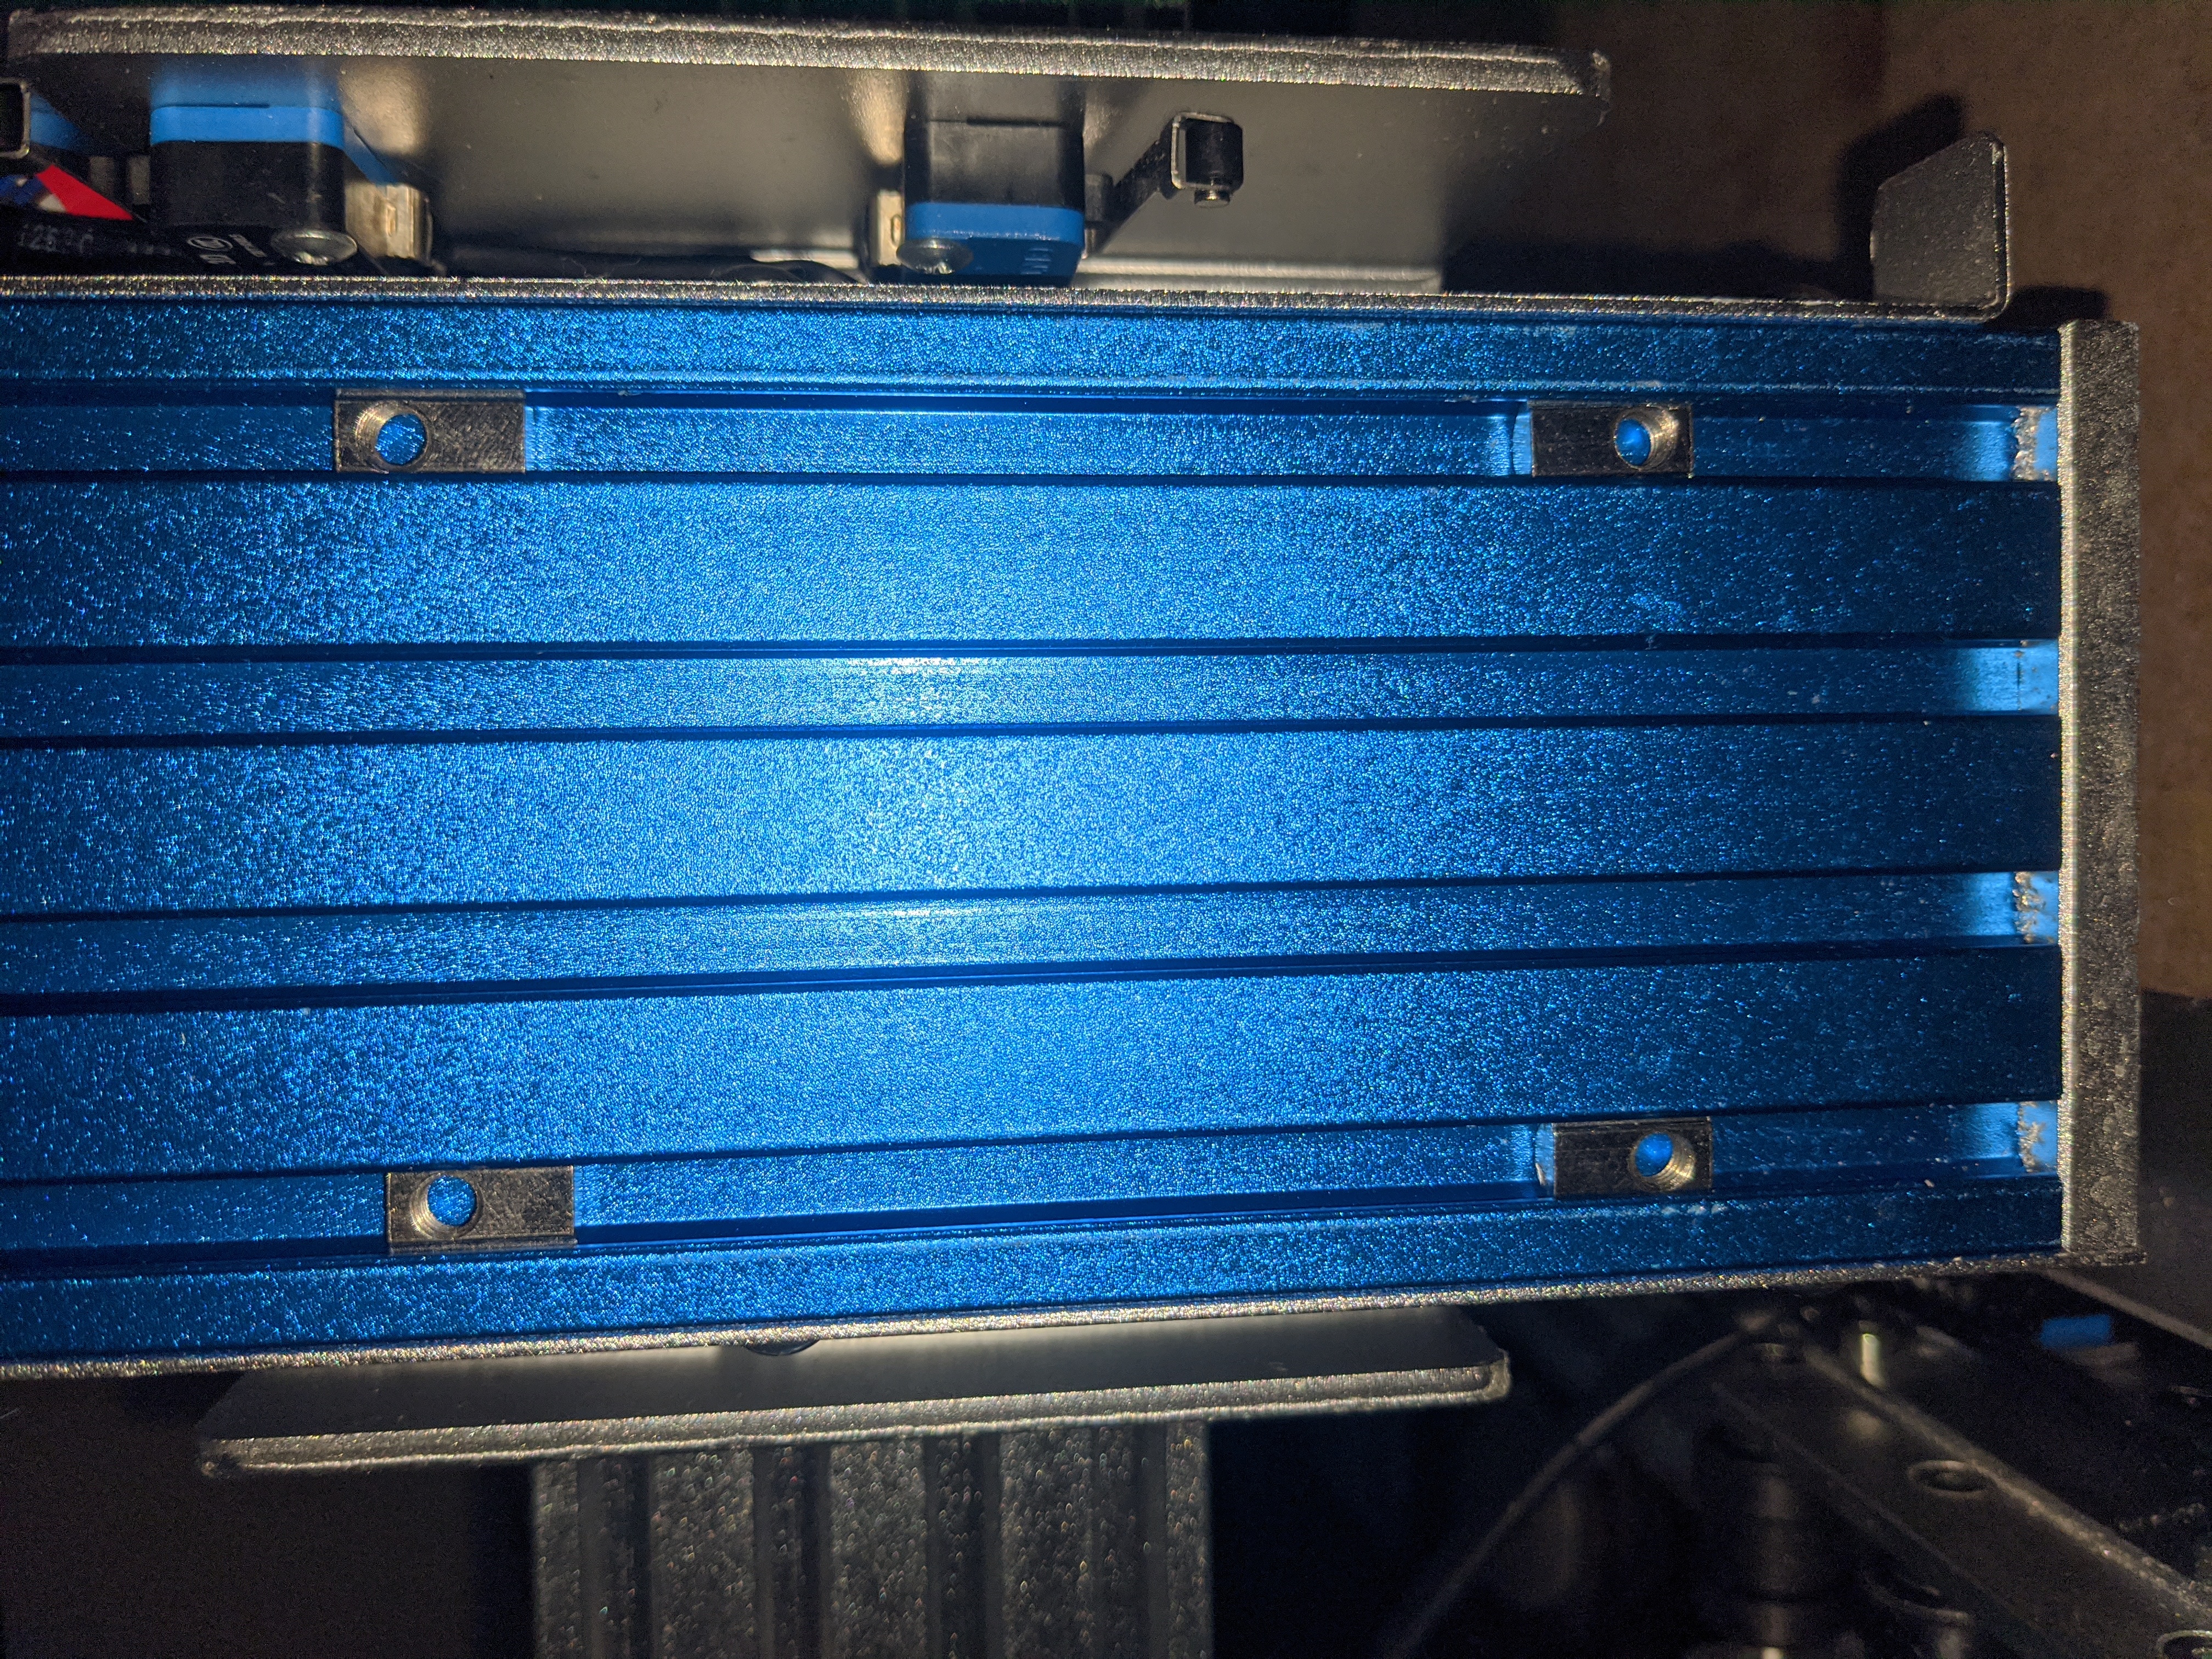
As you can see, there are T-Slot nuts underneath, which can easily slide up and down. These are very useful for adjusting the height of either mount to your liking, as well as changing the spacing to accommodate the much larger 611 mount.
Step 3: Install Your 611 Spindle Mount
Because the T-Slot nuts slide up and down, it can be a bit tricky to get bolts threaded into all 4 of them. For the easiest time, it is suggested that you:
- Slide the bottom pair of T-Slot Nuts towards the bottom, and the top pair well out of the way towards the top so that you will still be able to see the top two after installing the mount in the bottom 2.
- Install the 611 spindle mount in the bottom pair of T-Slot Nuts, taking care to only screw the bolts enough to barely hold the mount in place.
- Assuming you have not screwed the bottom 2 bolts in too much, you should be able to slide the whole assembly up so that the top pair of T-Slot Nuts align with the top holes on the spindle mount.
- After loosely installing the top pair of bolts, slide the spindle mount into your desired position on the Z axis and tighten each of the 4 bolts a bit more.
- Level your mount if you have something available to do so, so that it is square to the rest of the CNC. Such as is shown in the image below:
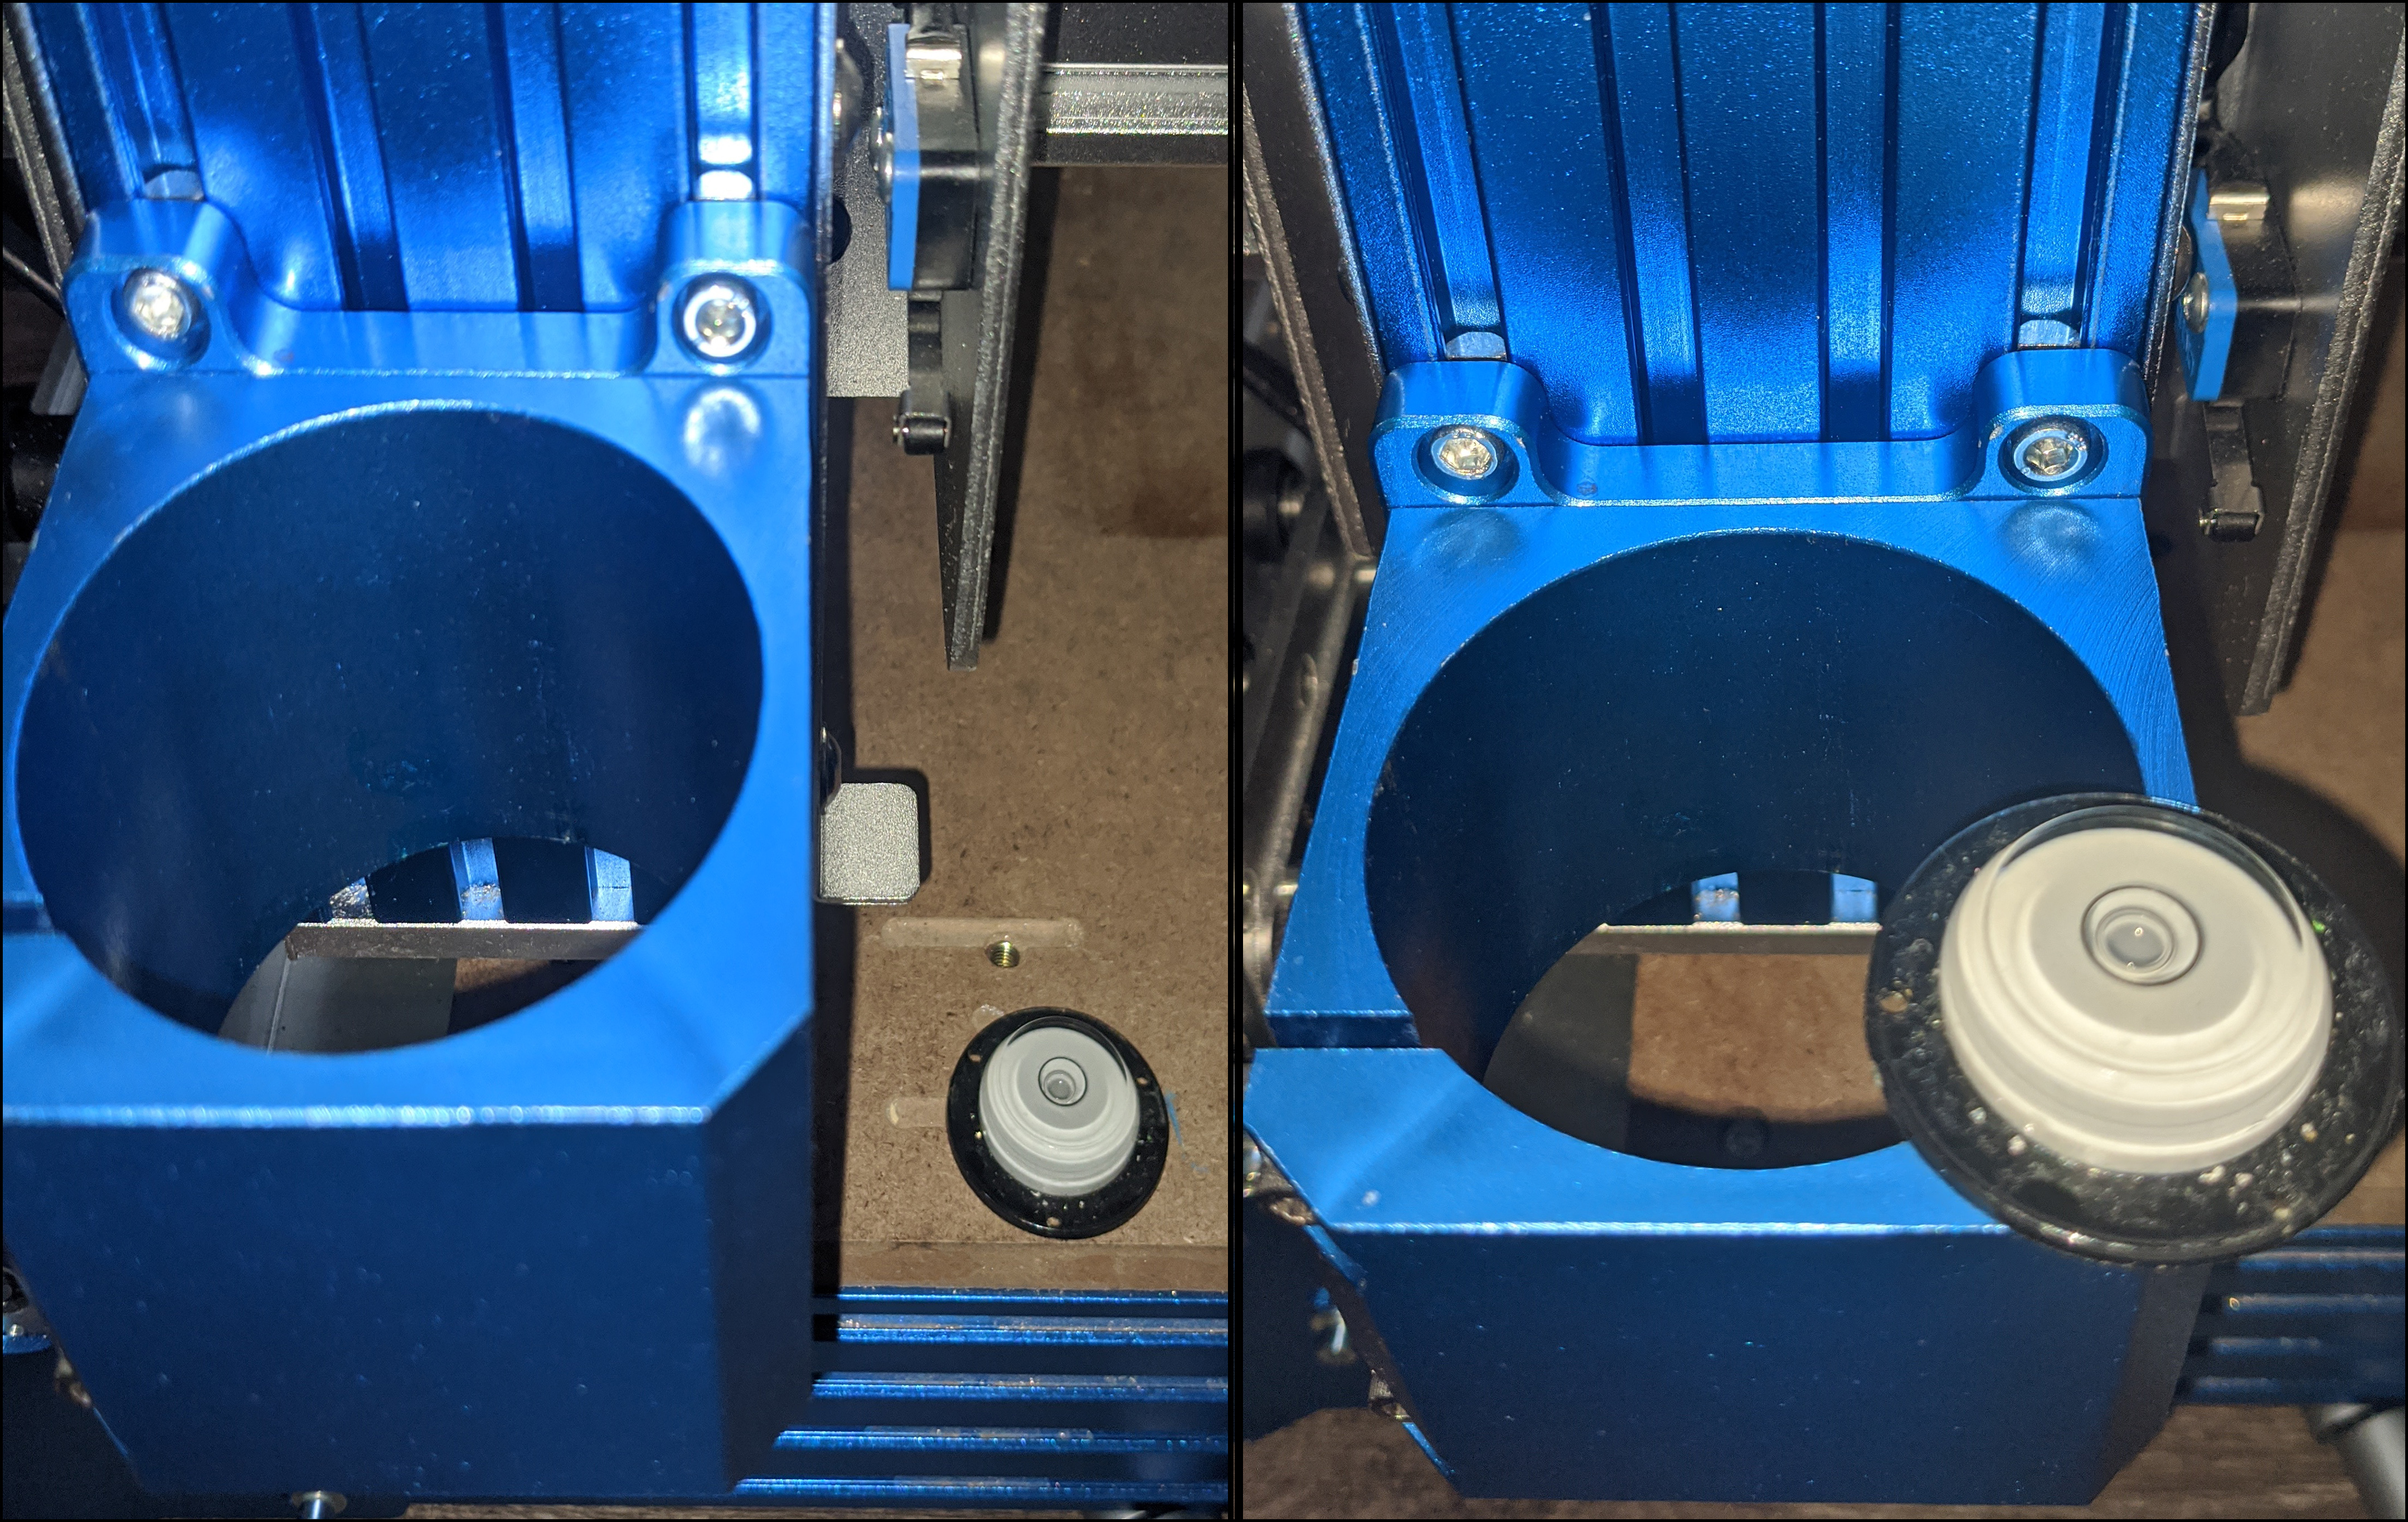
- Do not count on your CNC surface being perfectly level. In order to get around using a non-level surface, first see what it looks like on your level when placed on your CNC bed. Take note of what it looks like.
- Place your level on your spindle mount, if your 4 mounting bolts are loose enough you should have some room to wiggle the mount side-to-side. What you will want to do is try to find the point at which the level on the mount looks the same as it does when you have it on your bed. While not the most precise method, this will get your spindle in the ballpark to being square with your CNC. The rest can be compensated for by surfacing your spoil board.
- With everything in place, firmly tighten the bolts to hold the 611 mount.
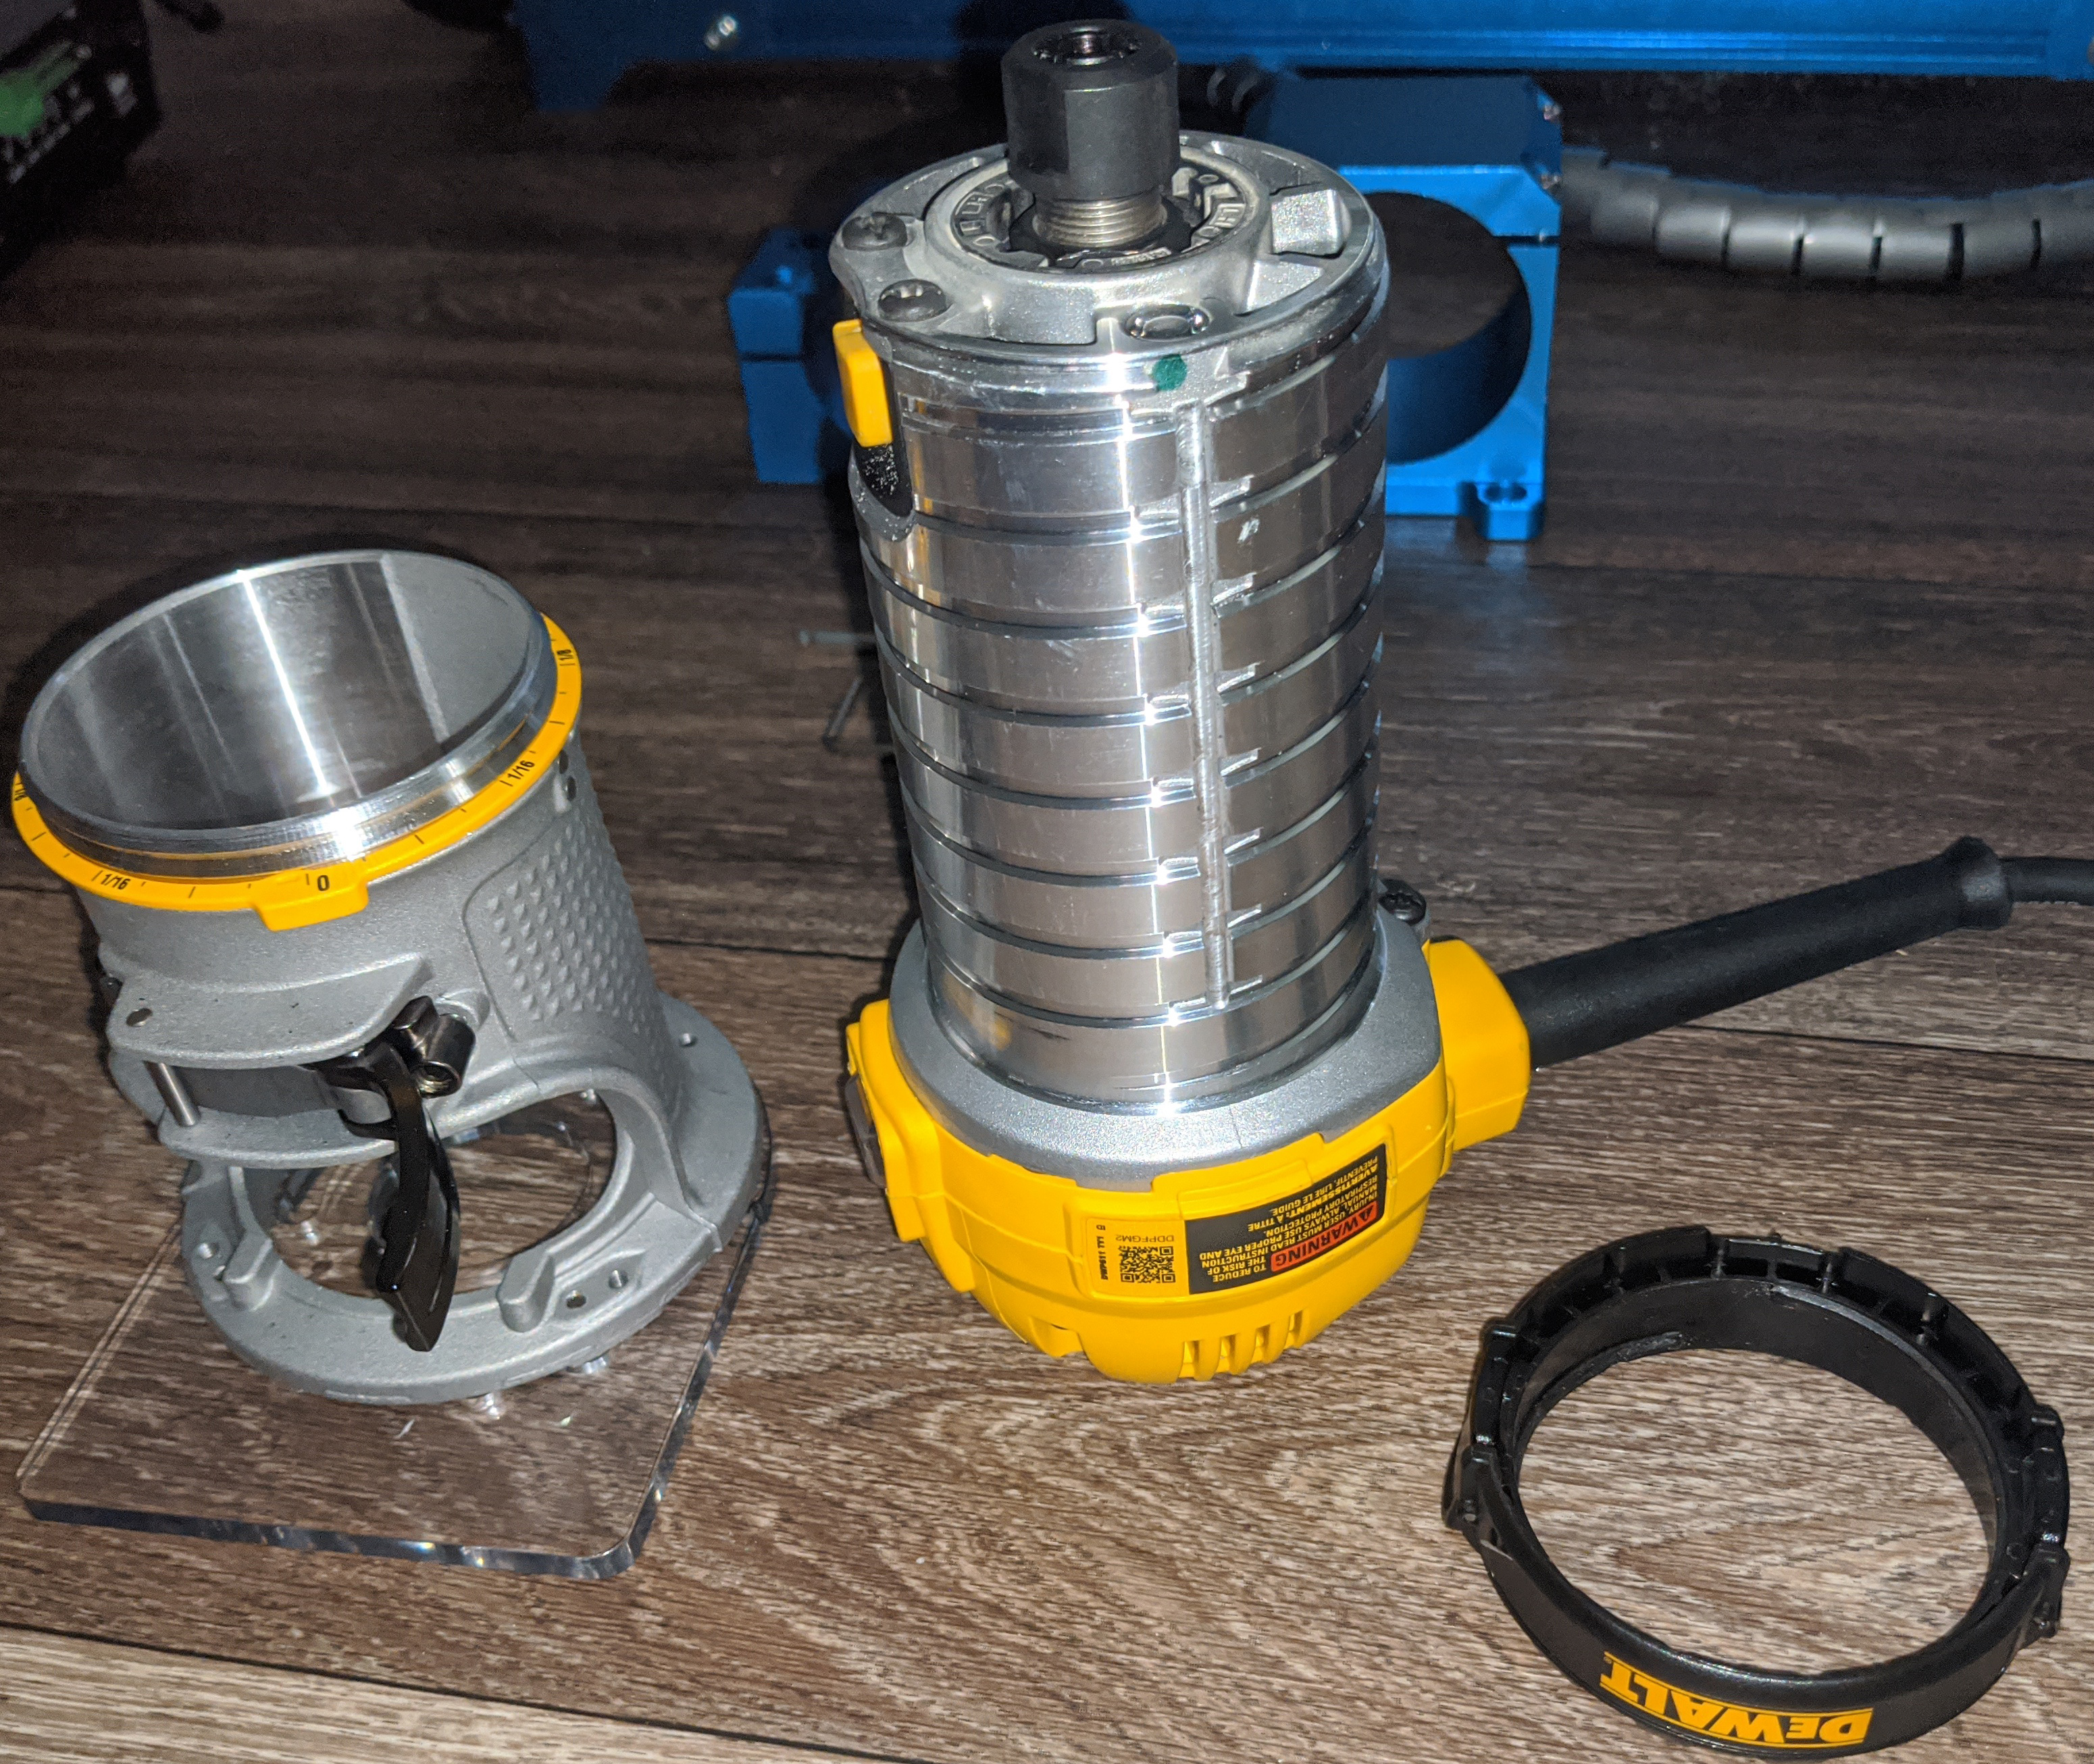
Step 4: Install Your 611 Router into the New Mount
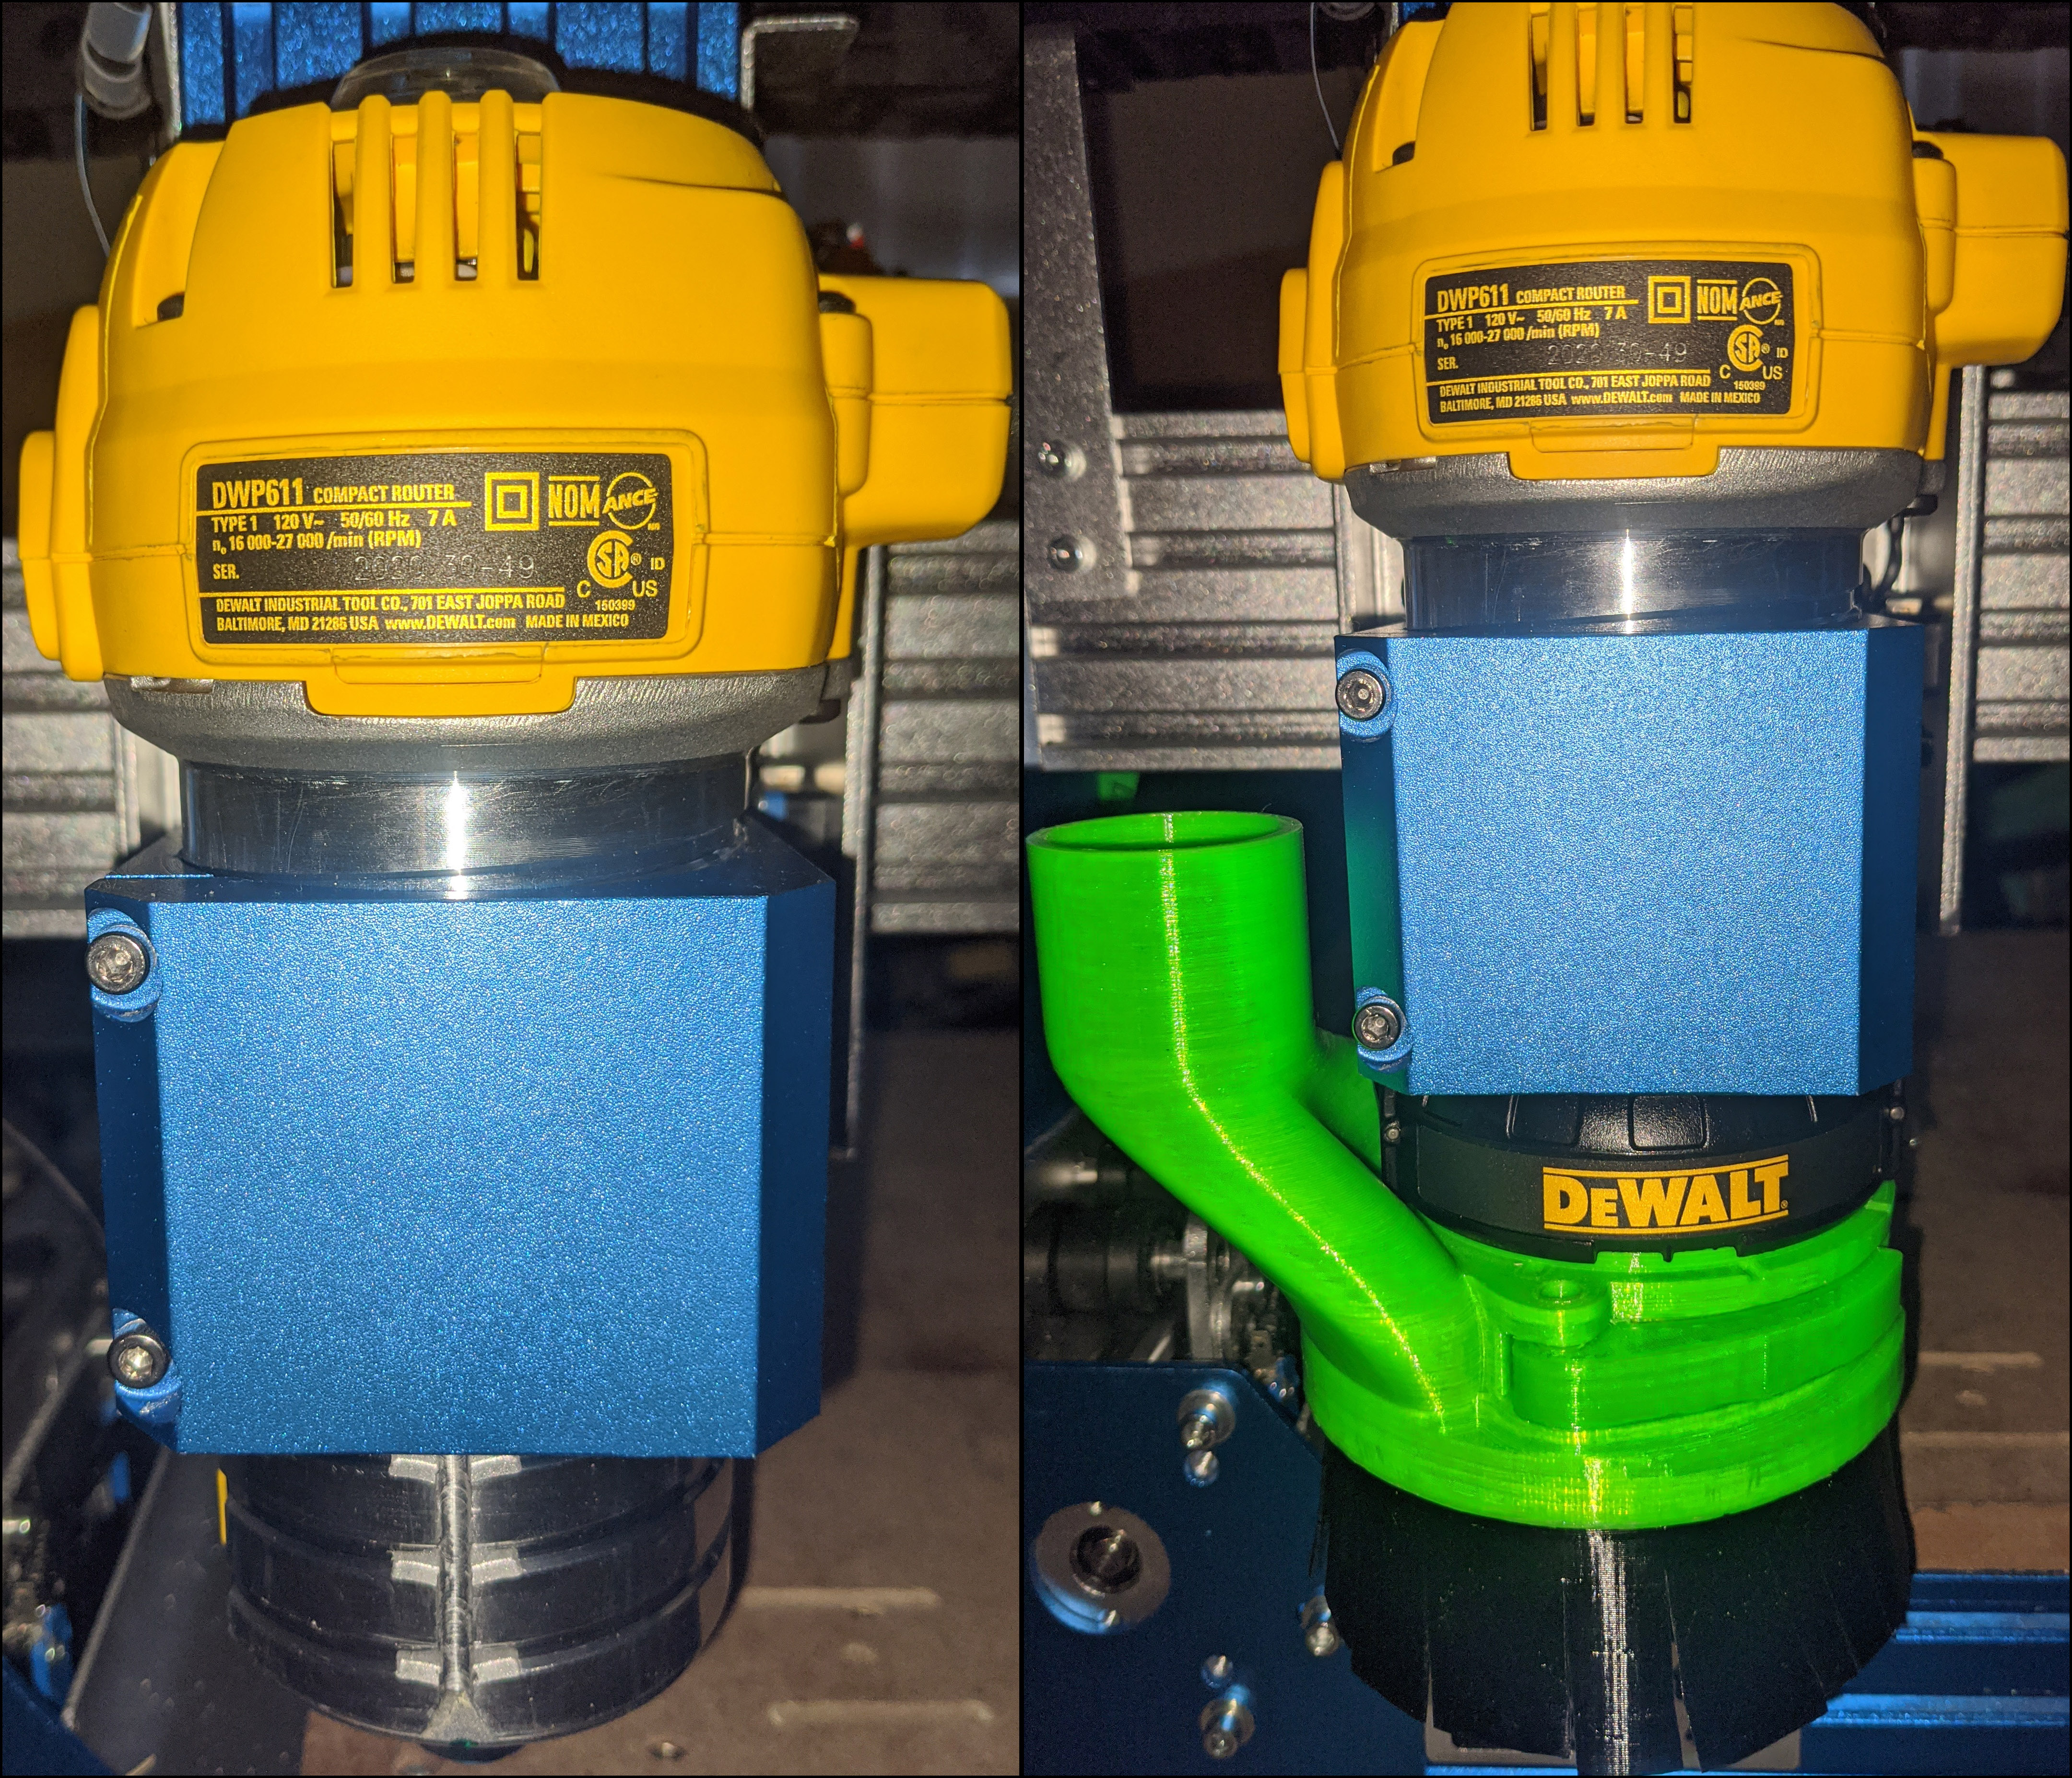
To finish things up, drop your 611 into the mount to the desired height and tighten things up. The only thing you need to take care of is what direction you will have your router face. In the image above has the speed controller, on/off switch and the spindle holder all facing to the left, with the power cable going to the right.
In testing, it was shown that it is easiest to drape the wire along the cable chain on the CNC and into the wall outlet. As long as you have it properly secured, and don't have too much slack in the wire there shouldn't be anything to warrant concern for the wire falling into the spindle.
As well, for those who like to include a dust shoe to keep their CNC tidy, we suggest printing out this model from Gage6917 on Thingiverse.
How to use the DeWalt 611 as a Spindle
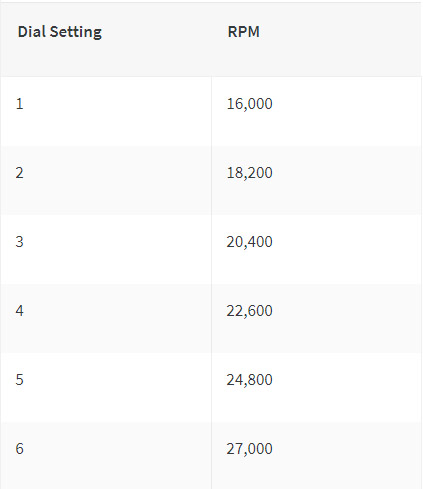
At this time, we do not support any methods to tie the 611 router directly into the electrical PWM control of your CNC. Instead, you will need to manually turn the spindle on and set the speed via a dial which has numbers ranging from 1 to 6. The larger the number, the greater RPM that the spindle will turn at. For your reference, see the chart below to see what RPM each number roughly equates to: