How to Use CARVECO Maker with your PROVerXL, PROVer, or Genmitsu machine
 Updated
Carveco Maker lets you begin the design process from a variety of flexible starting points. Their inbuilt vector drawing tools allow you to create clean vector designs from scratch, add text to personalize your work, or maybe import some artwork to combine with your initial design.
In this guide we will cover generating your own artwork design, saving, and exporting to candle for milling. Carveco Maker also includes a free library of over 600 3D reliefs for you to use. We will also cover how to use these free models.
Getting Started
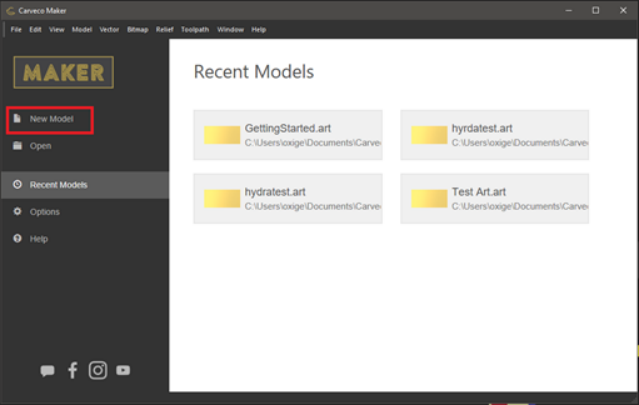
After opening Carveco MAKER you will be greeted with the image below. Select, “New Model”
Material Stock Dimensions
The “New Model” window will pop up. This is where we define the dimensions of the material we are working with. For this example, we will use a piece of wood that is 12 inches wide by 6 inches tall.
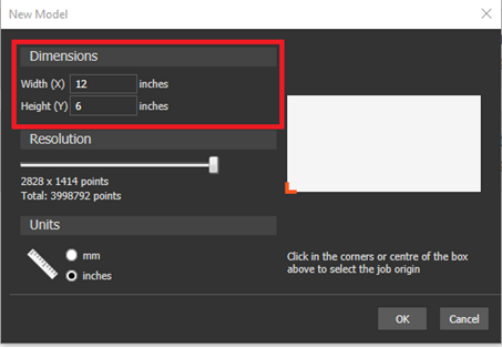
Job Origin
This is where you will also select your “Job Origin”, by default this is in the bottom left corner of your material stock. If you would like to change this, you can simply select the corner or center you want to set for your Origin point.

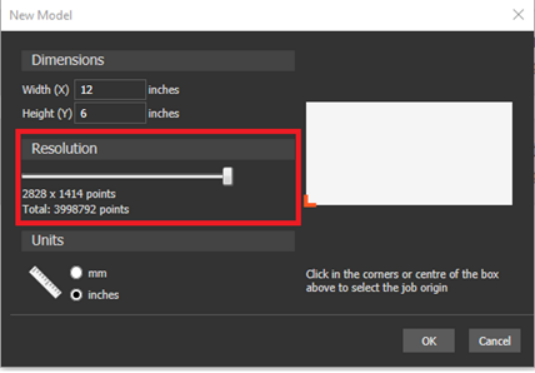
Preview Resolution
You will notice a “Resolution” slider. This setting controls the rendered resolution of the 3D Preview and simulation. If you are working with highly detailed designs it is best to turn this to MAX, please note that this may be resource-intensive for older computers.
Measurement Units
Select either “mm” or “inches” depending on your work preferences.
When you are done. Select “ Ok”.

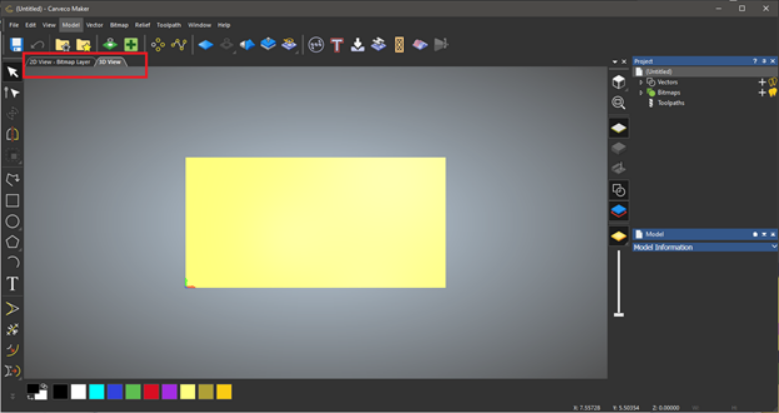
Below is an image of your current workspace. By default, you will be in the 3D View. You can flip between either view to help with designing or viewing how your design sits within your stock material.
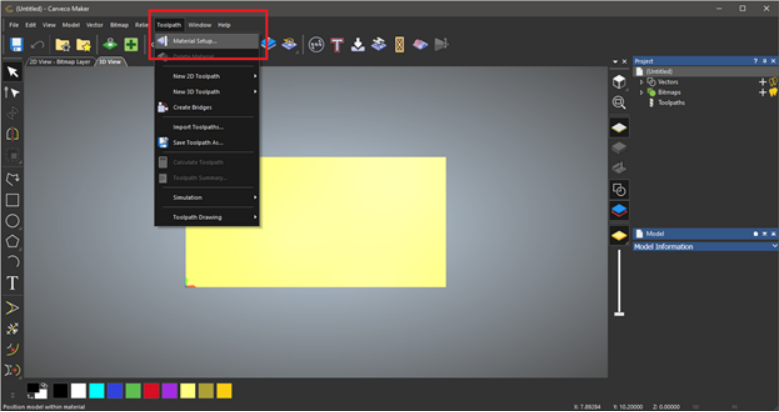
First, let’s finish configuring the Material Stock. Select “Toolpath” then “Material Setup".
Input your Material thickness here. We are going to input our thickness of 0.237”. As you can see the Model position in the material will automatically adjust the offset. For this tutorial, we will leave that part alone.

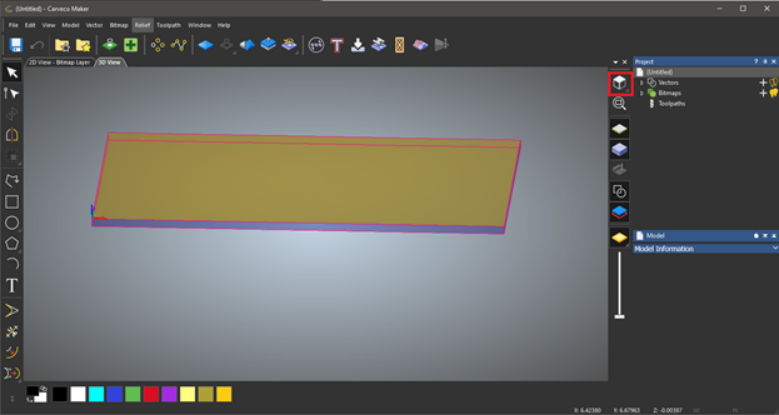
When you click “OK” and go back to the work-view, you may notice that when you either alter your view with your Middle mouse button and move the mouse, or select th e View button you can now see the thickness represented in the stock material. Go back to the TOP View for the next step.
Now that we have the material setup, let’s get started!
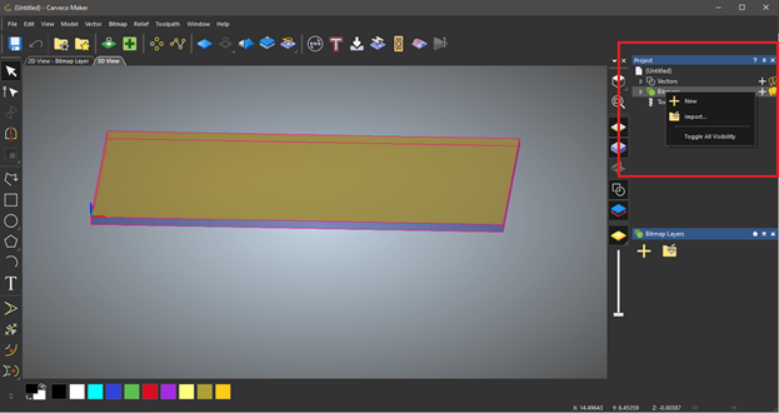
For this guide we will import an image of our logo. Start by right clicking “Bitmaps” from the “Project Area” and select “Import”.
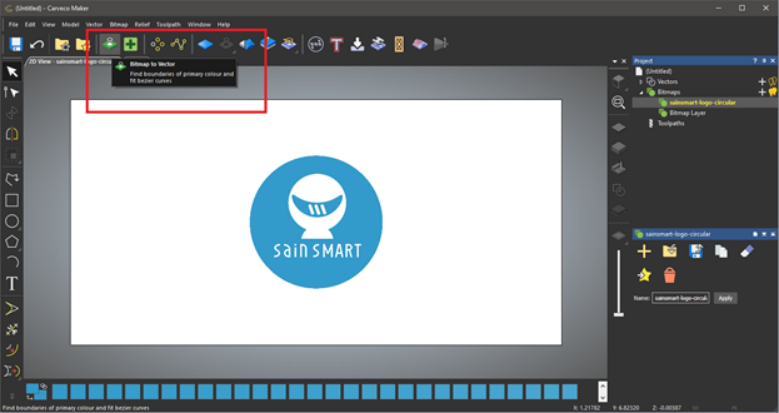
Select the “2D View” Tab, this is where you will find the imported image.
Select the Bitmap to Vector button. You can also select Vector from the top menu and do it that way.
We want to reduce the colors of the image. In a majority of the 2D designs you will generally only work with 2 colors. Select “Reduce” Colors.
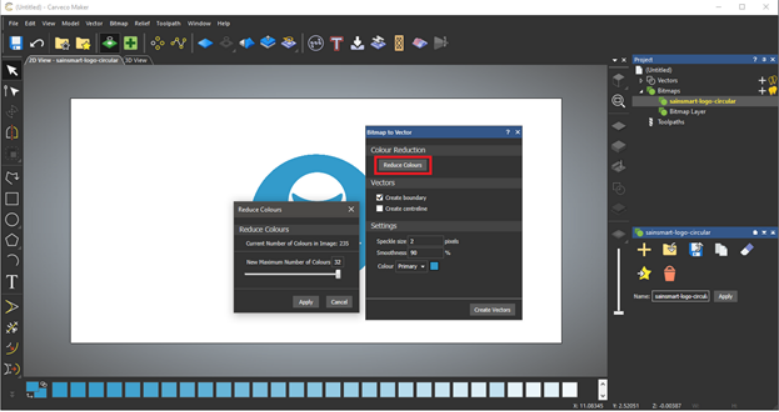
Enter “2” or drag the slider all the way to the left to reduce colors to just 2. Then select “Create Vectors”.

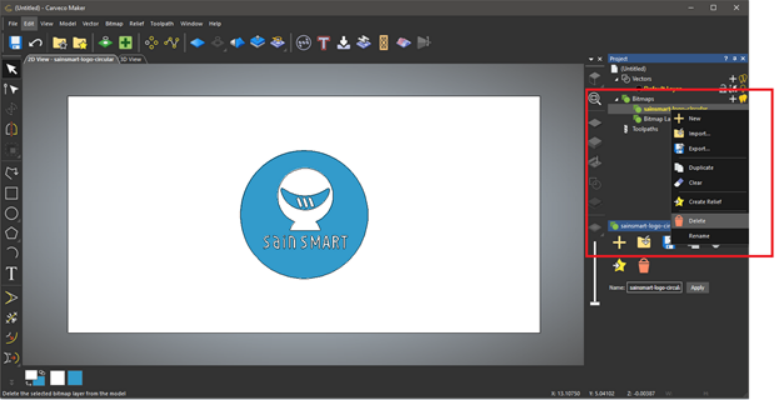
Pink lines represent your Vectors. Press “ESC” on your keyboard and then select the outermost pink rectangle along the border of the white box. The inside vector around the logo should now be black.
Now we are left with just the LOGO Vector and the imported image. Now to delete the original bitmap by removing it from the “Bitmaps” layer drop down. Select, Right click and delete.
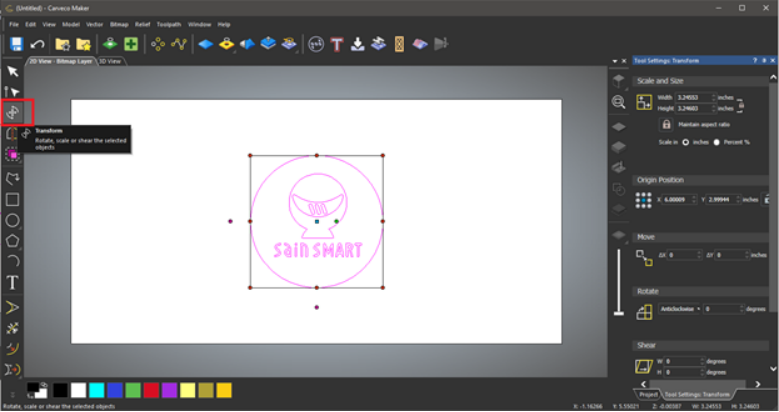
Press CTRL+A to select the Vectors. Due to the size of our bits and the size of the text we want to make the Vector larger by selecting the transform tool.
With the design finalized, we can now start with creating the toolpaths. To simplify the job, we are going to remove the outer ring of the logo. This will prevent the toolpath from tying to remove material from that inner area.
Highlight the Vectors by either pressing CTRL-A or Dragging while clicking your mouse over the design.
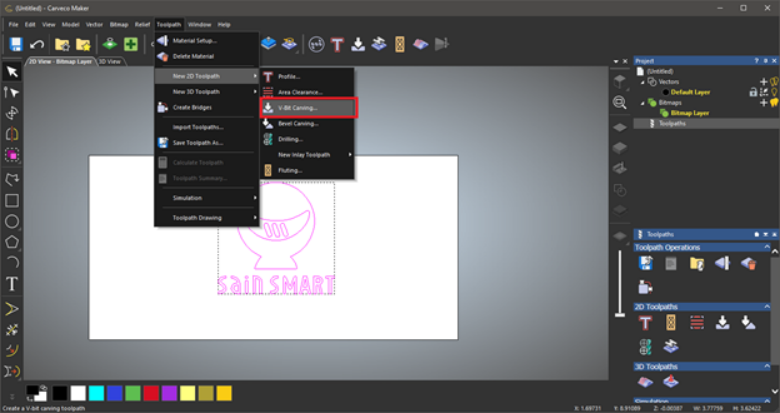
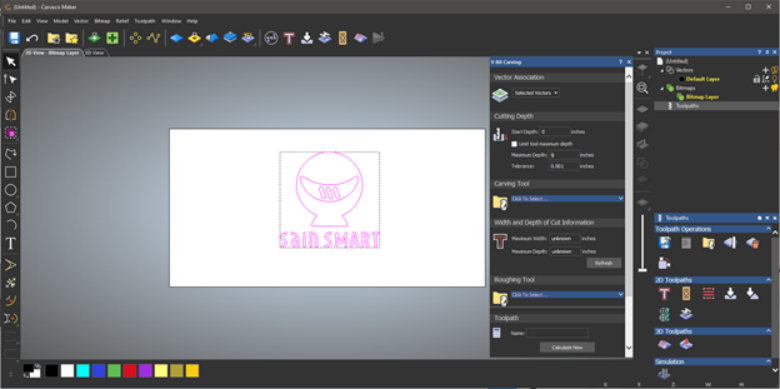
In the V-Bit Carving menu the “Vector Association” should be “Selected Vectors” as we are going to use 1 toolpath for everything we do not need to utilize multiple layers, different toolpath operations, etc.
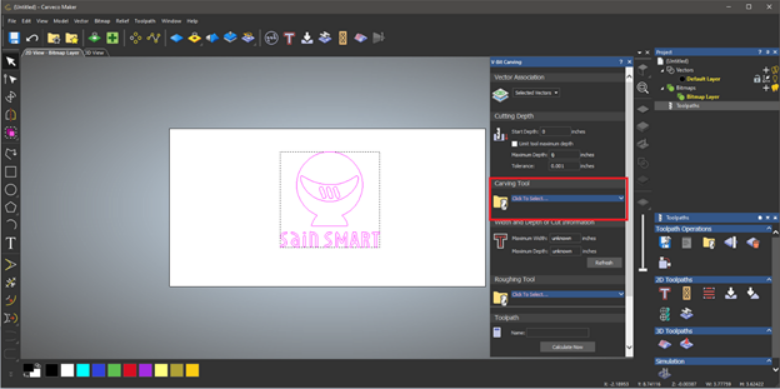
Now we need to select what Bit we are going to use. For this project we will use a ¼” 90 Degree V-Bit.
This will open the Tool Database and from here we can utilize existing tools or enter your own. Depending on the Tool, Material and Spindle you are using these settings will need to be adjusted for the best performance.
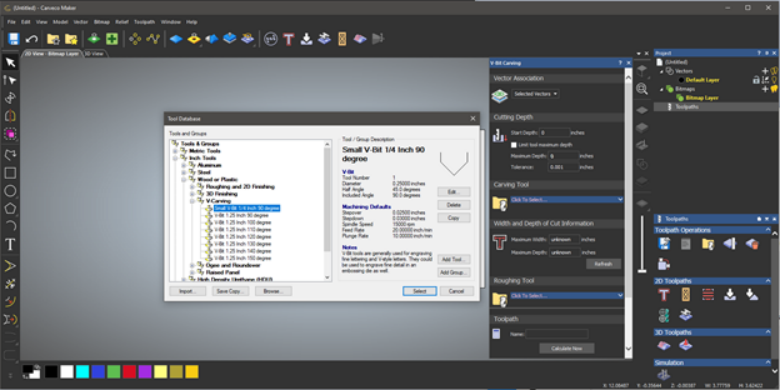
For this project we will select our ¼” 90 Degree V-Bit, if you are using a PROVerXL with the stock spindle you will enter “15000” for Spindle Speed and for the 3018 series “12000”. For more information on Selecting Bits and types of cuts please visit our CNC Bits Buying Guide
The maximum cutting depth will be set to a maximum of .10 in, we are not looking for a deep carve here. After you click calculate now, your will now see a red line representing the toolpath you just created.
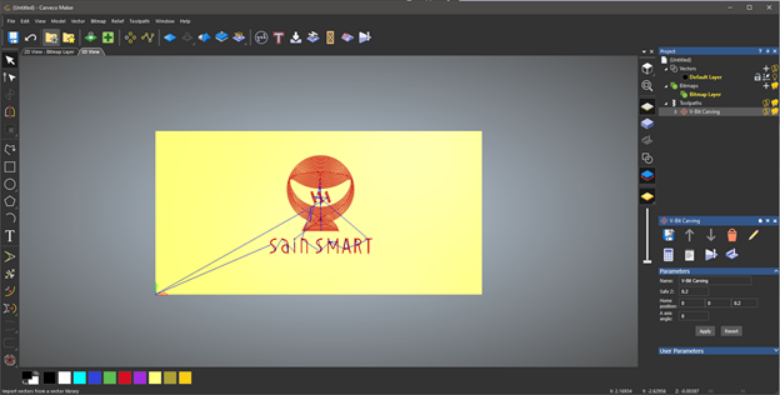
Before we export the toolpath and get the carving started, we want to see a preview of the job. To do that we can generate a simulation.
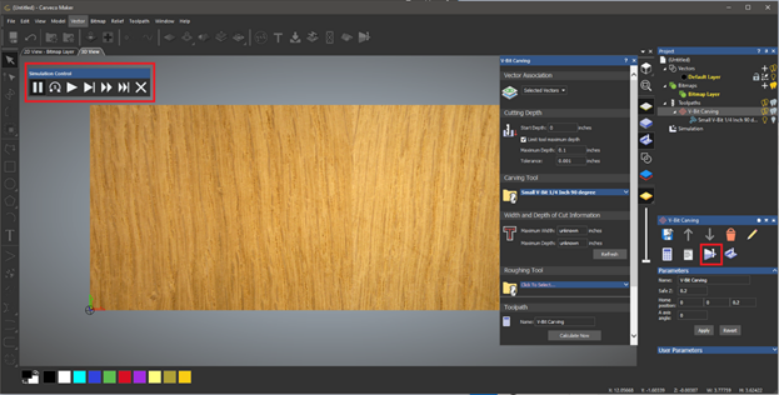
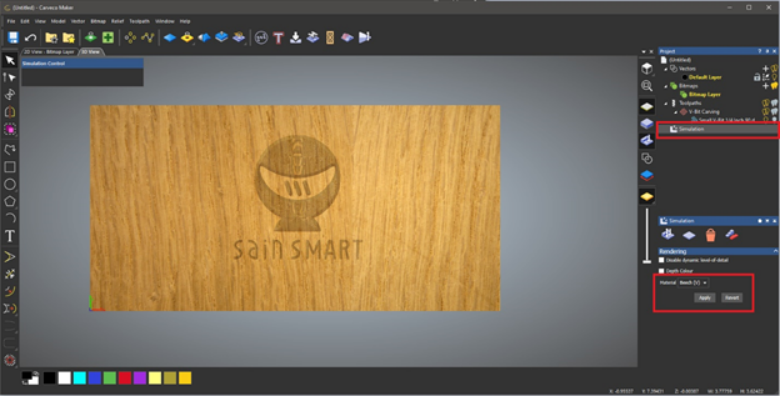
After selecting the Simulation Button on the right side of the menu, a control bar will appear like the one located at the top right of the image above. Select the play button and you can watch the simulation play out. If you would like to change the material rendering in the preview (I have BEECH wood selected above) you will select “Simulation” located in the Project area on the right of your screen. Then towards the bottom of the menu you can select your preferred material from the drop down.
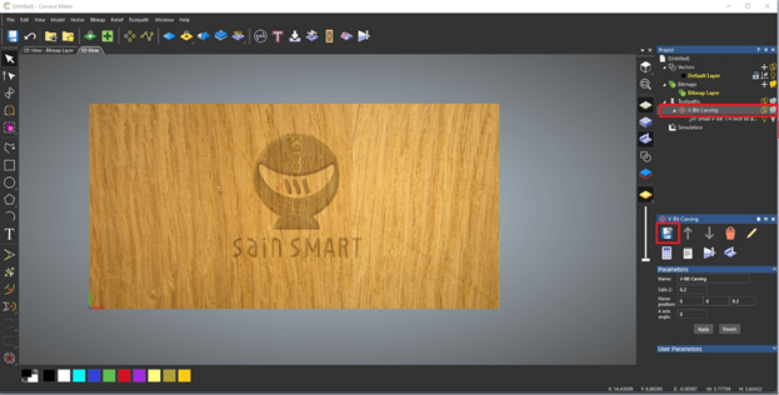
Now that we are happy with the preview you can export and save the toolpath. To do this, click the toolpath from the drop down and select the “Save Toolpaths” icon.
Enter your file name and choose your save directory. For your first job you will need to choose the Machine file format from the bottom of the screen. You can use either Grbl (inch) or Grbl (mm) (*.gcode) in the future you can select the appropriate Sainsmart CNC machine from the dropdown list.
After you click save, you will be left with a .gcode file you can now import into Candle. Need help using candle? Check out our guide here! How to Install Candle