Genmitsu 3018 CNC Spoilboard Installation Guide

What you Will Need:
One of the Below:
- Genmitsu 3018 PROVer
- Genmitsu 3018 Pro
- Genmitsu 3018 MX3 (Now known as PROVer Mach3
- Genmitsu CNC MDF Spoilboard for 3018 CNC Router
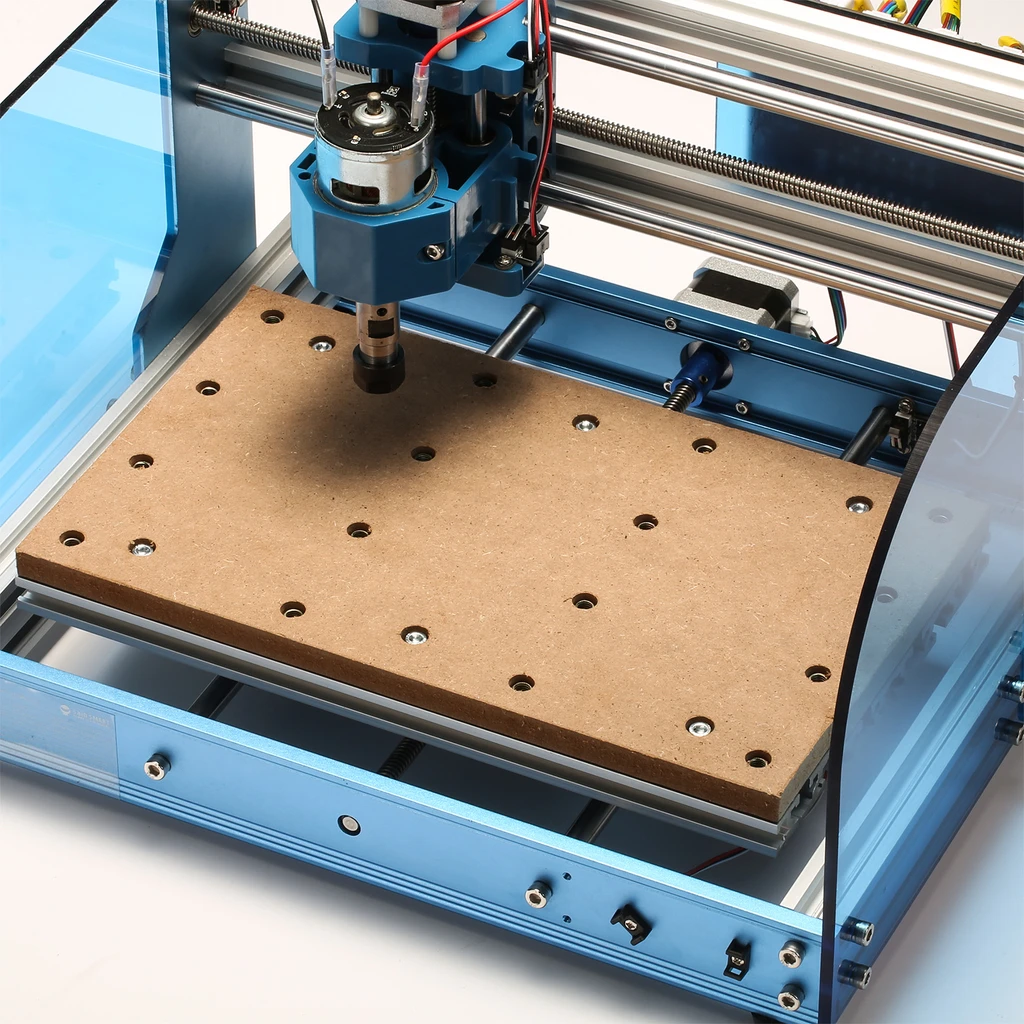
Step 1: Preparing your Spoilboard
When your spoilboard arrives, it should come with everything you need installed. In order to check, please compare the bottom of your spoilboard to the one shown below:
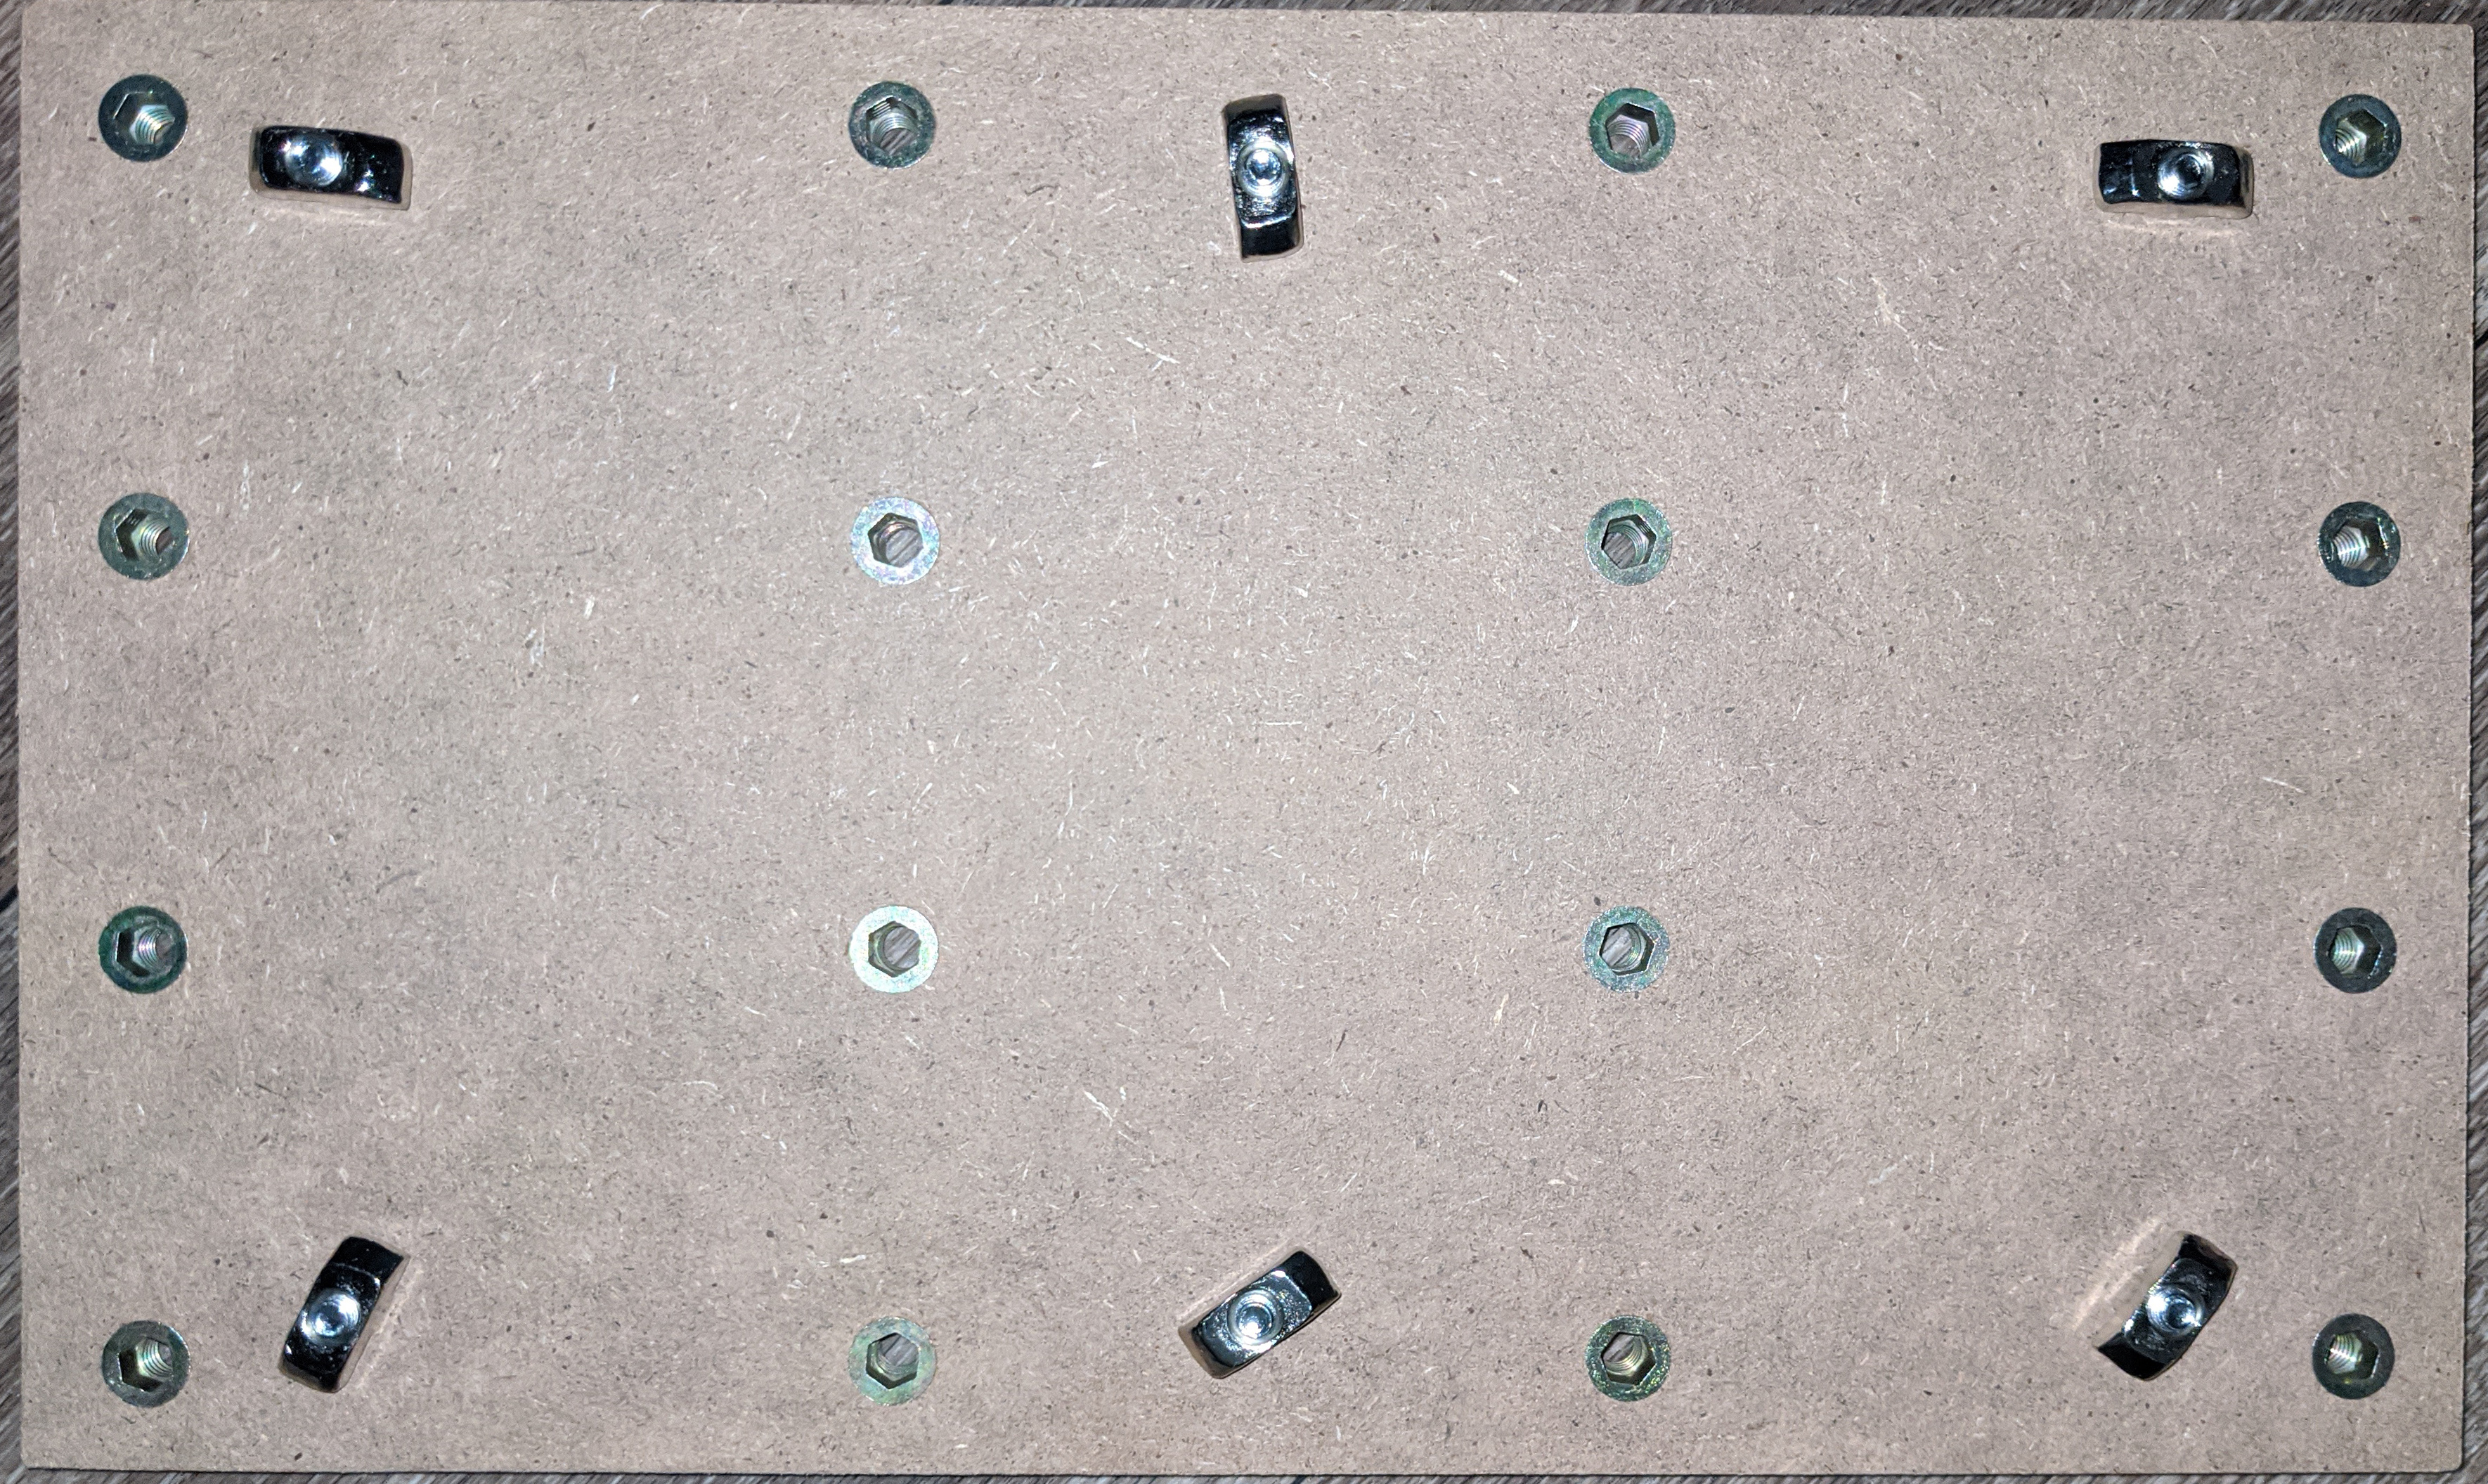
Assuming that your Spoilboard looks like the above, you will want to partially unscrew the 6 T nuts shown above so that there will be some room for them to shift properly as you tighten them during installation.
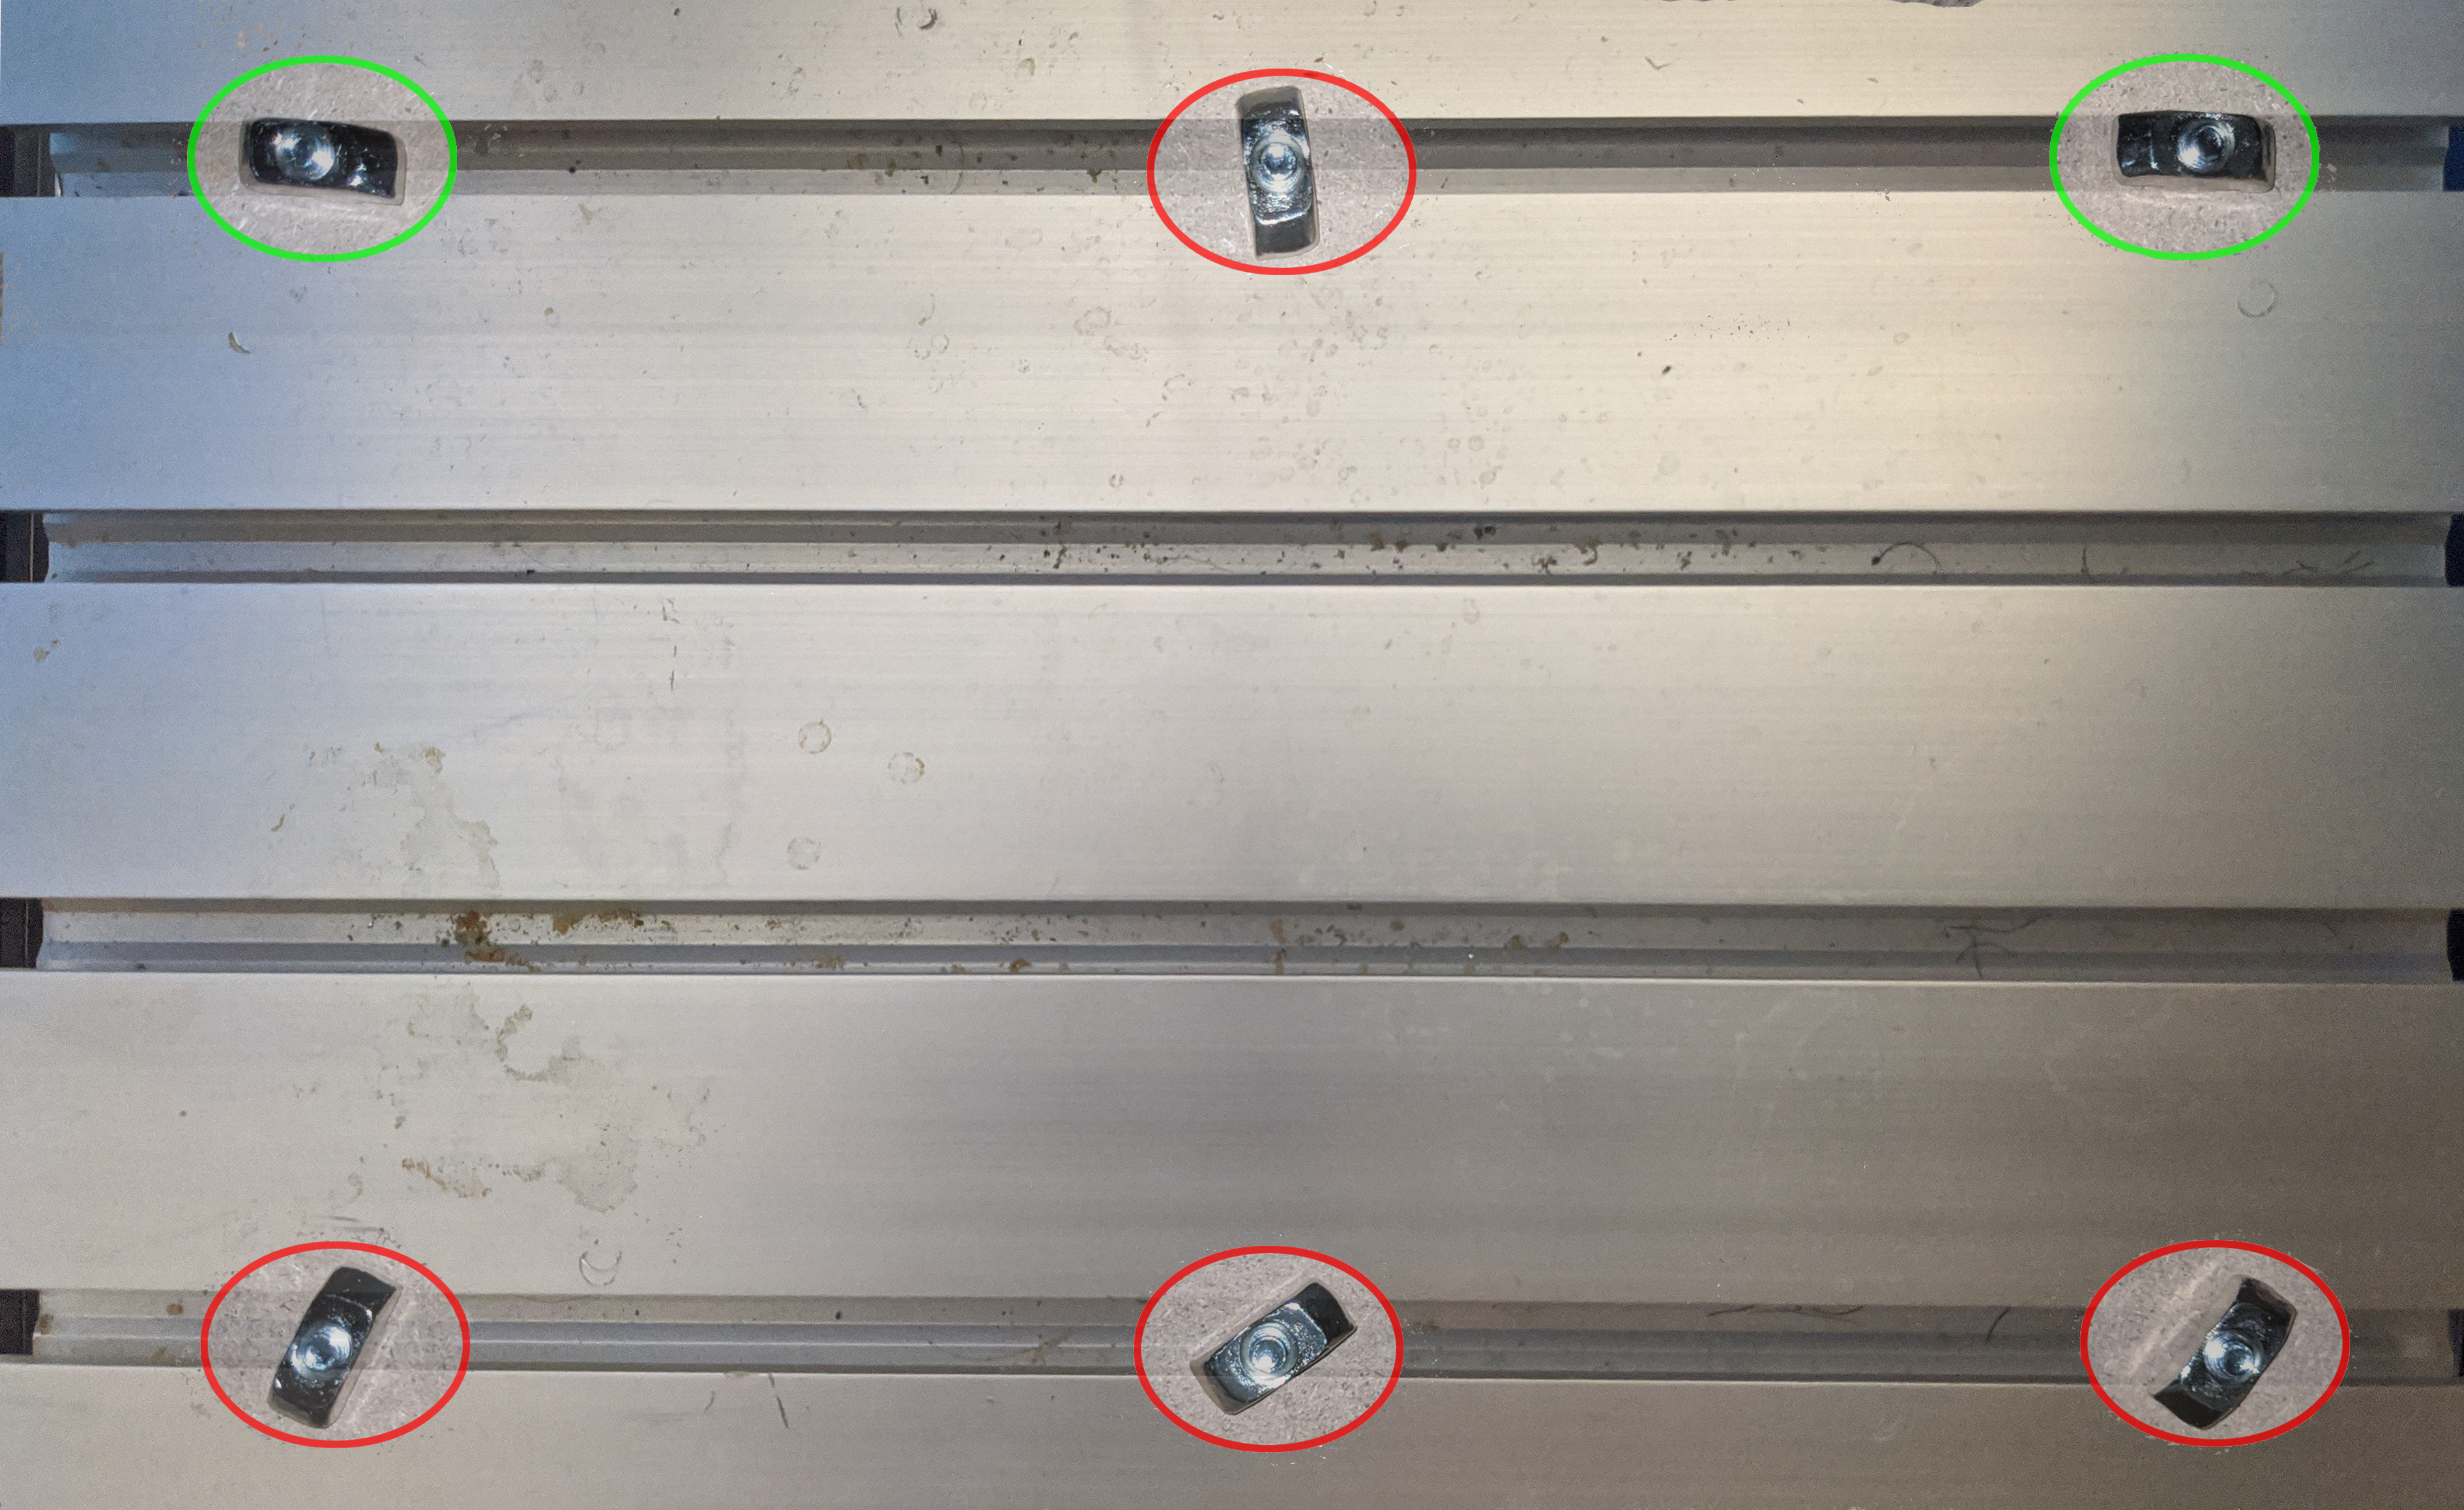
Next you will want to align the T Nuts so that they will be able to fit into the slots on your CNC bed. It is best to do so while the board is oriented for installation. Please see the image below for what will fit (circled in green) versus what orientations will not fit (circed in red)
Step 2: Installation
This might take a few attempts, but you will want to install the board with the T nuts fitting into the top and bottom T slots in the CNC bed.
As you can seem, it does not take much for these to line up,
With the spoilboard in place, tighten the hex screws as far as they will go without over-tightening. As you do so, each T nut will rotate and clamp into place, scuring your spoilboard to the CNC bed.
Once you have done so, try lifting your spoilboard at each corner to make sure that all T slot nuts have properly anchored to the bed.