How to Install GRBLControl/Candle for Mac

Step 1: Driver Installation
Software is supported for OSX 10.9 and above. The process in this document was tested in OSX 10.13.3. Download the driver from here, you may need to unzip it manually in older Mac Operating Systems.
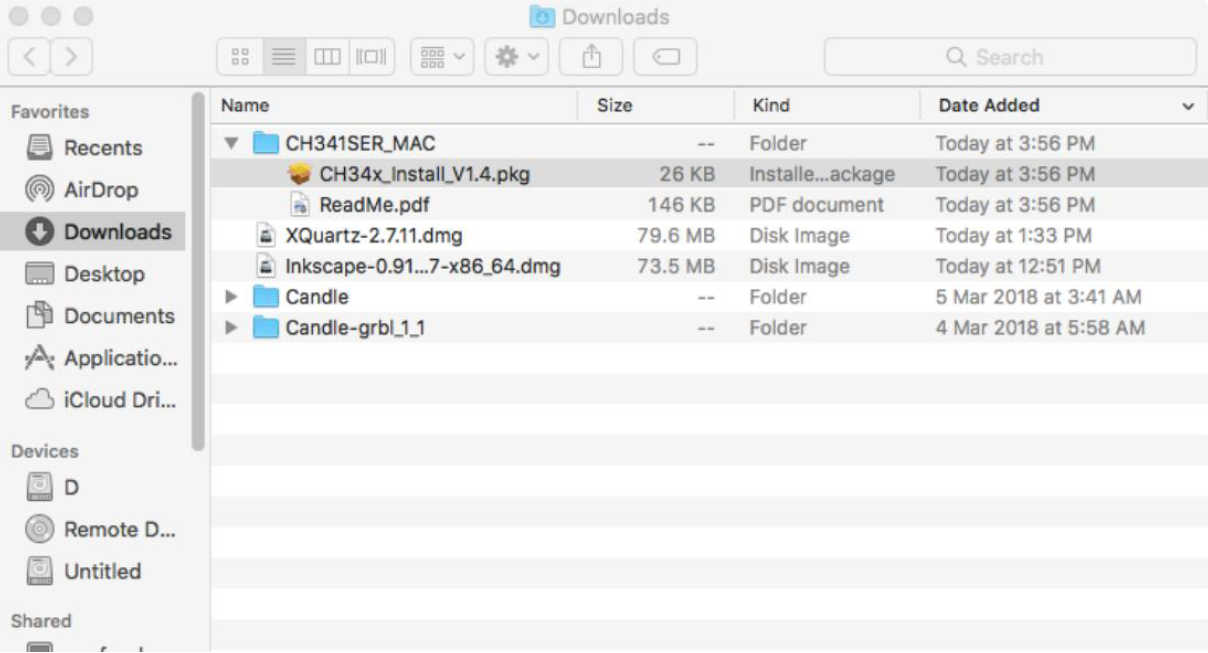
Find the CH341SER_MAC directory in the Download directory and then double-click CH34x_Install_V1.4.pkg:
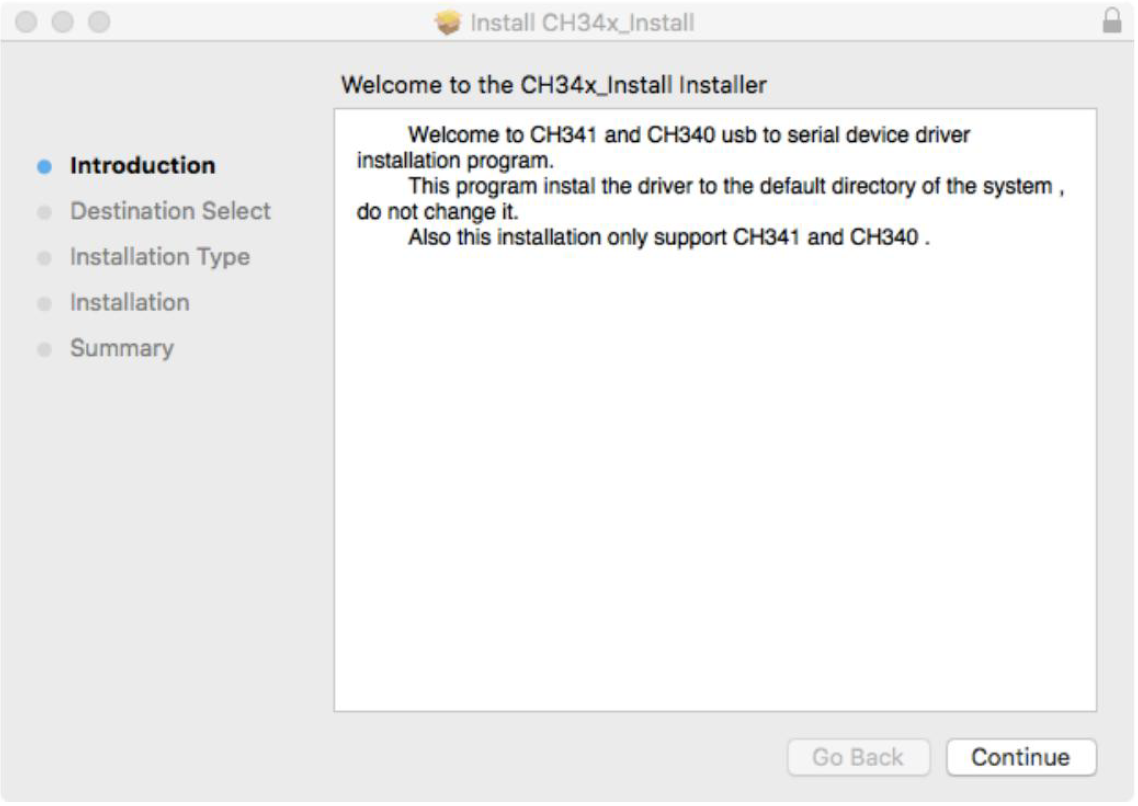
Follow the installer that pops up:
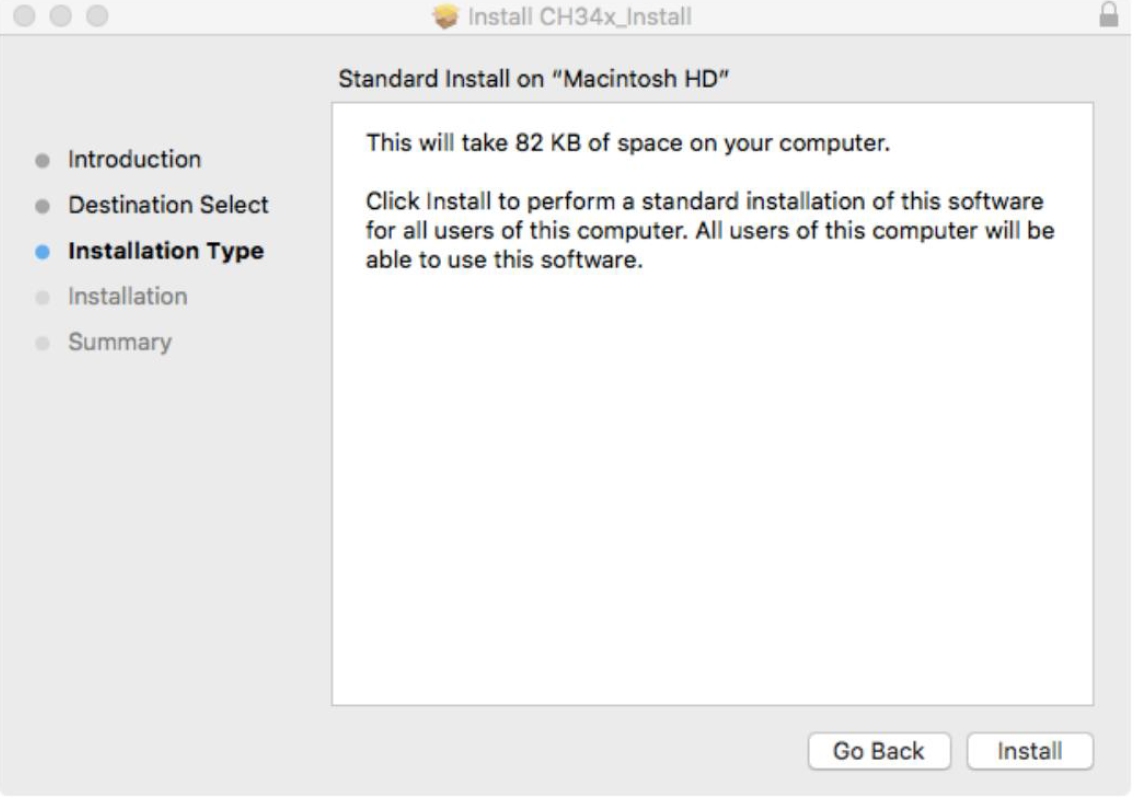
Keep going, and select "Install" when prompted:
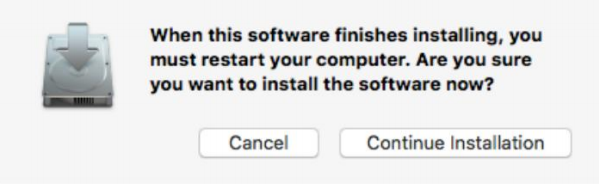
The following should pop up, select "Continue Installation" to proceed:
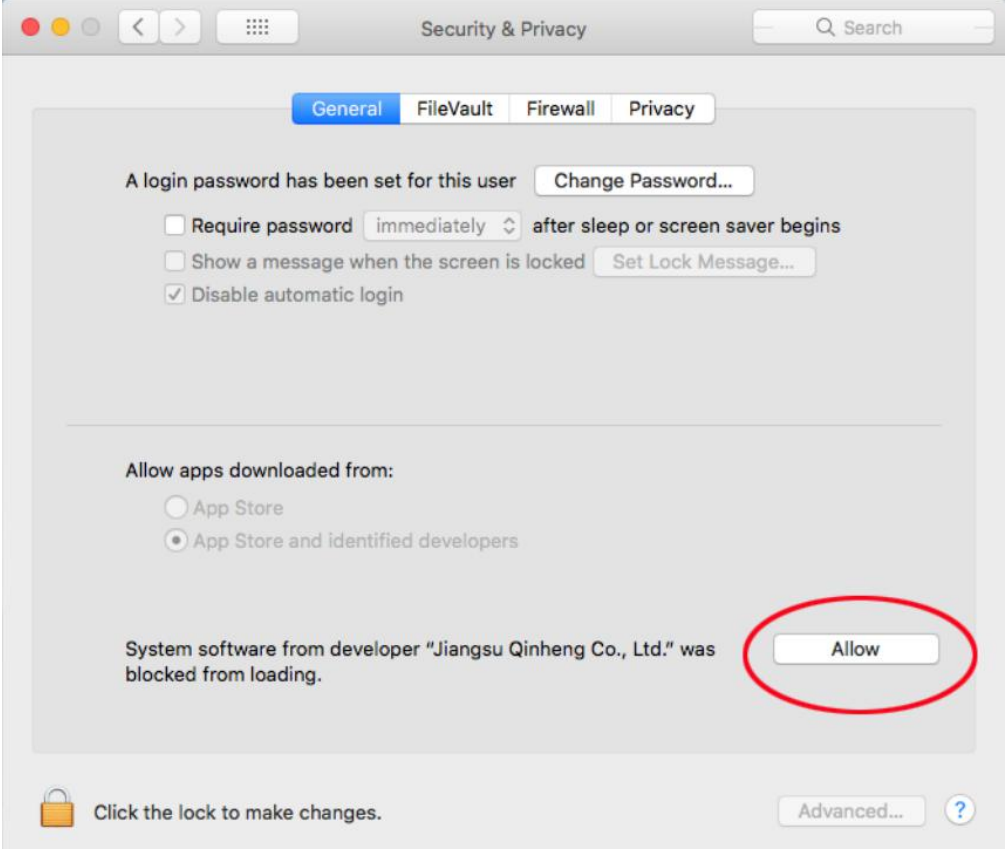
After a moment you will be prompted to restart your computer. Doing so will complete the installation process. If you run into any issue like this:

It means that the CH340 USB driver extension is blocked by Mac. In order to allow the CH340 USB driver, go to Mac Security & Privacy and select "Allow" as shown below:
Step 2: Software Installation
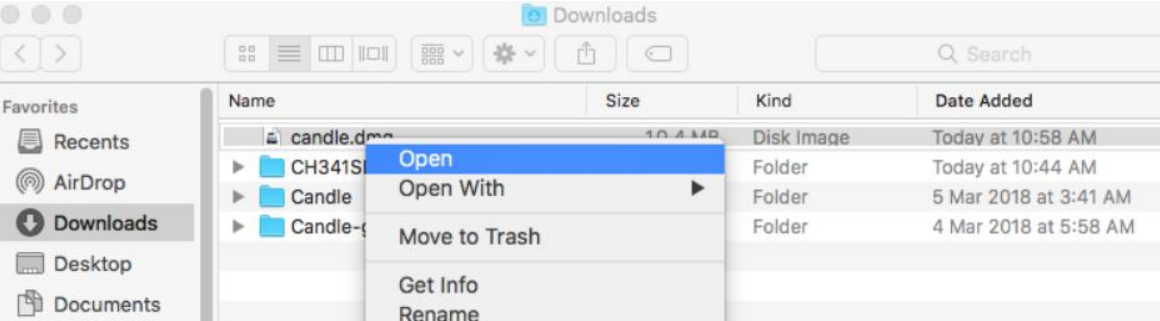
In order to begin, you must download the software. To do so, select this link. Afterwards, find the file, unzipping as needed, and find the candle.dmg file inside. Right click or control click the file and select "Open" from the menu.
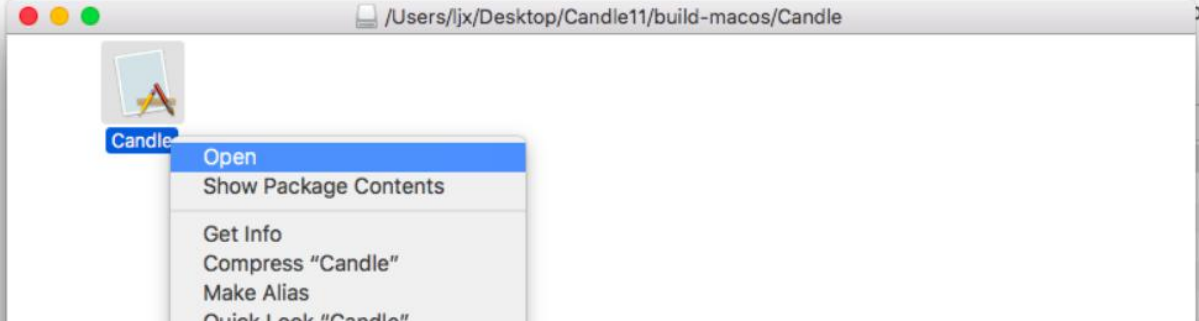
On the following Menu, right/control click the Candle Icon. Select “Open” again.
You will see a warning message. Select the “Open” button.

Candle will launch directly from this, and you're good to go!
Step 3: Configuring Candle
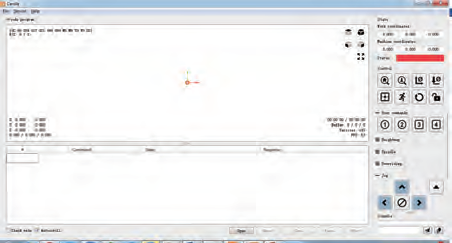
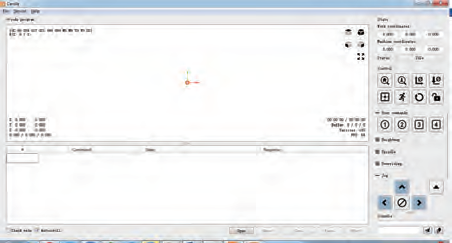
Connect your CNC via the USB cable and start Candle. Ideally you should see something like the screenshot below:
The red Alarm state in the status box is actually good! The 3018 and 4030 PROVer CNC's are fitted with limit switches and by default has ‘Homing’ enabled. Until a Homing Cycle has been run it will be in an Alarm state as it has no idea where the spindle is and will accept very few commands. You can also get out of this state by clicking on the padlock icon in the Control section of Candle to unlock the machine.
If you are not seeing the above image, you may see the following image below:
If it’s the second image, then Candle cannot find your router. Simply select the Service/Settings option from the top menu and you should see the settings menu:
Check that the Baud: value is 115200, if not change it, then Click on the connection/Port dropdown menu and select the COM port your router is connected to, there should not be many so if necessary try them each in turn. Click on OK and you should see first screen shown above, if not select the next COM port and retry.
If all else fails check the USB cable connection to the router, as well as see if the Emergency Stop button is pressed (It shouldn't be) and retry.
Before proceeding any further, check some settings:
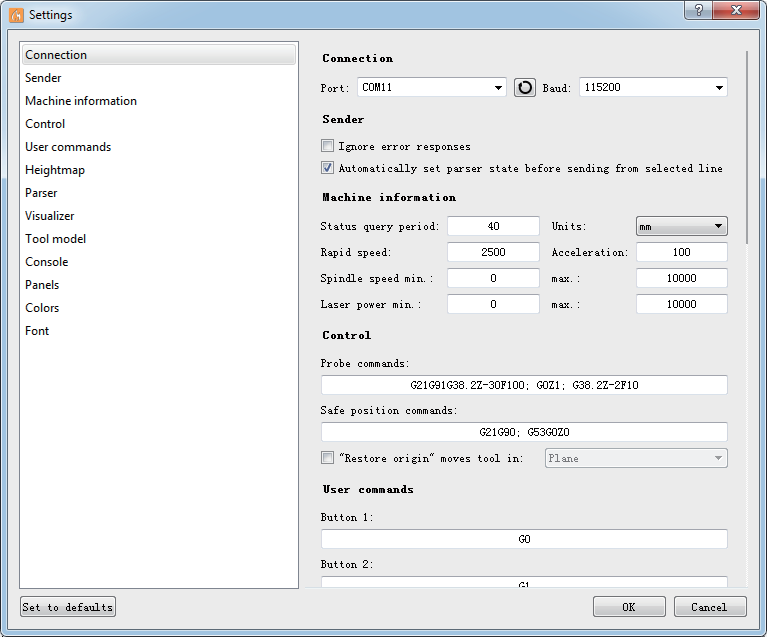
the Machine Information section set/check the following:
Rapid Speed should be set to 2000
Spindle Speed Min should be set to 0
Spindle Speed Max should be set to 10000
Laser Power Min Should be set at 0
Laser Power Max Should be set at 10000
And hit OK. Your software is now configured and ready for use.